
“You don’t take a photograph; you make it.”
You’ve probably heard this: why fix what isn’t broken? Let’s see if this applies to real estate photo editing or real estate photography.
Creating stunning photos of properties is the first step in selling real estate. Beautifully balanced images highlight the most significant features of each area, allowing homebuyers to see themselves living there. Your job as a real estate photographer is to capture such pictures. You are supposed to make them pause and stop scrolling.
Even with the finest skillset and tools, you cannot always obtain the photos you anticipate. Whatever the case, what you see in your creative mind is not necessarily what you receive in reality. Hence you must resort to real estate photo editing and restore the sparkle to your images.
During the editing phase, we are faced with a challenge: what aspect should we fix? Which part is broken? And that is where we realize real estate photo editing is not about fixing the broken but telling the story of a house in the best possible way.
If we look at real estate photo editing this way, we notice how hard it is to tell a 3D story through 2D frames. So, you are not just editing to make pictures look stunning; you are turning them into a real-life experience for homebuyers. And that is why there are many tactics in real estate photo editing.
Let’s begin by reviewing the advantages of real estate photo editing techniques. Then we’ll go through basic techniques in detail; finally, we’ll discuss the limits when it comes to editing.
Table of Contents
Advantages of Using Enhancement Techniques for Property Listings
Real estate photography deals with a still subject, yet it is supposed to convey the sensation of a home. Listing images invite online home seekers to stop scrolling and click. We need a sharp hook to take advantage of that passing opportunity, which is only achievable with sharp images. Let’s see what these sharp pictures do:
1. Showcasing the property’s potential
While real estate photography is mostly rooms and walls, each property has unique characteristics that make it stand out. High-quality listing images demonstrate these features in the best way.
2. Easing the visualization process
Prospective buyers searching online must decide whether to visit the property or pass. That decision partially depends on if they can imagine themselves living there. Top-quality images provide impeccable visual content, answering homebuyers’ questions and helping them imagine what it would be like to live in this property.
3. Faster turnarounds
When the story of a property is delivered fully, and with high-quality visual content, the listing leaves the market sooner. Some homebuyers may check other parts of a listing, like the description and realtors’ assessment, but all check the photos.
4. Standing out in a competitive market
One look at a listing website can show how easily a property can drown in the sea of ads. Enhancing the listing images is the best way to ensure your listing excels and catches the eye.
Basic Editing Techniques for Enhancing Real Estate Photos
First impressions are critical in the real estate profession. The first step is to capture high-quality, visually attractive photographs. After that, you must edit pictures of houses, interior spaces, workplaces, and yards to appeal to your target audience. You can take advantage of essential techniques to fascinate homebuyers and persuade them to set a viewing or even make an offer sight unseen.
If you are only starting your career as a real estate photographer, you can check out our real estate photography tips for beginners.
There are three real estate photo editing categories, and each one encompasses a couple of techniques:
Let’s check them out one by one.
1. Adjustment
Much of photo editing falls under the adjustment class. Here you only enhance and alter aspects of pictures to get a high-quality image. The goal is to edit the pictures to resemble reality as much as possible.
1.1. Exposure correction
Light is the inseparable particle of photography. In real estate photography, light plays an even more prominent role: showing all the features of the property, even the smallest ones.
Indoor and outdoor shots both have their challenges regarding proper lighting. Of course, you can use flash and benefit from natural light, but there are limits to light adjustment during the shooting day. It may become a cloudy or dark day; light bulbs may have uneven temperatures; flashes may produce reflections, etc.
All the above can be corrected using editing software to make the estate look as spacious and open as possible.
1.2. Color adjustment
Color correction is a tool that can be used in Photoshop, Lightroom, and any other excellent photo editing software to bring your photographs to life. With a detail-oriented sight, you can transform an otherwise dull and monotonous picture into something immediately appealing and charming.
1.3. Straightening the lines
While shooting a property, you have many vertical and horizontal lines ready to curve for your camera! You can avoid much of it by adjusting the height of your camera and its alignment. But some tilting may remain. It is vital to have the lines straight due to their impact on how future buyers perceive the property.
You must align these curves using editing software in image processing. Some programs provide automatic fixes for crooked pictures. Photoshop offers practical tools for fixing converging lines; if you give it some time, you can use its function professionally.


1.4. Reducing noise
The millions of blurry dots that impact the sharpness of a picture are referred to as noise (or grain). Due to noise, an otherwise stunning photograph might seem unpleasant and “grainy.”
There are various reasons for that, including poor lighting conditions, sensor size, exposure duration, and even pixel density. A skilled real estate editor can mitigate this noise using several editing processes.
1.5. HDR
Real estate HDR photo editing is your handy technique when one shot cannot do justice to reality, hence multiple shots with different levels of exposure. Many cameras have HDR settings but don’t worry if it’s missing from yours. You can take many pictures of the same subject or scene with varying degrees of light and then merge them using editing software.
Through HDR, you get that perfect image that was impossible to capture with a single shot.
2. Removal
While shooting real estate, many items are included in your shots that are not supposed to be there; shadows of trees and clouds, reflections, objects, pets, or people, and you name it! That is why removing unwanted parts from images falls under editing.
2.1. Shadow removal
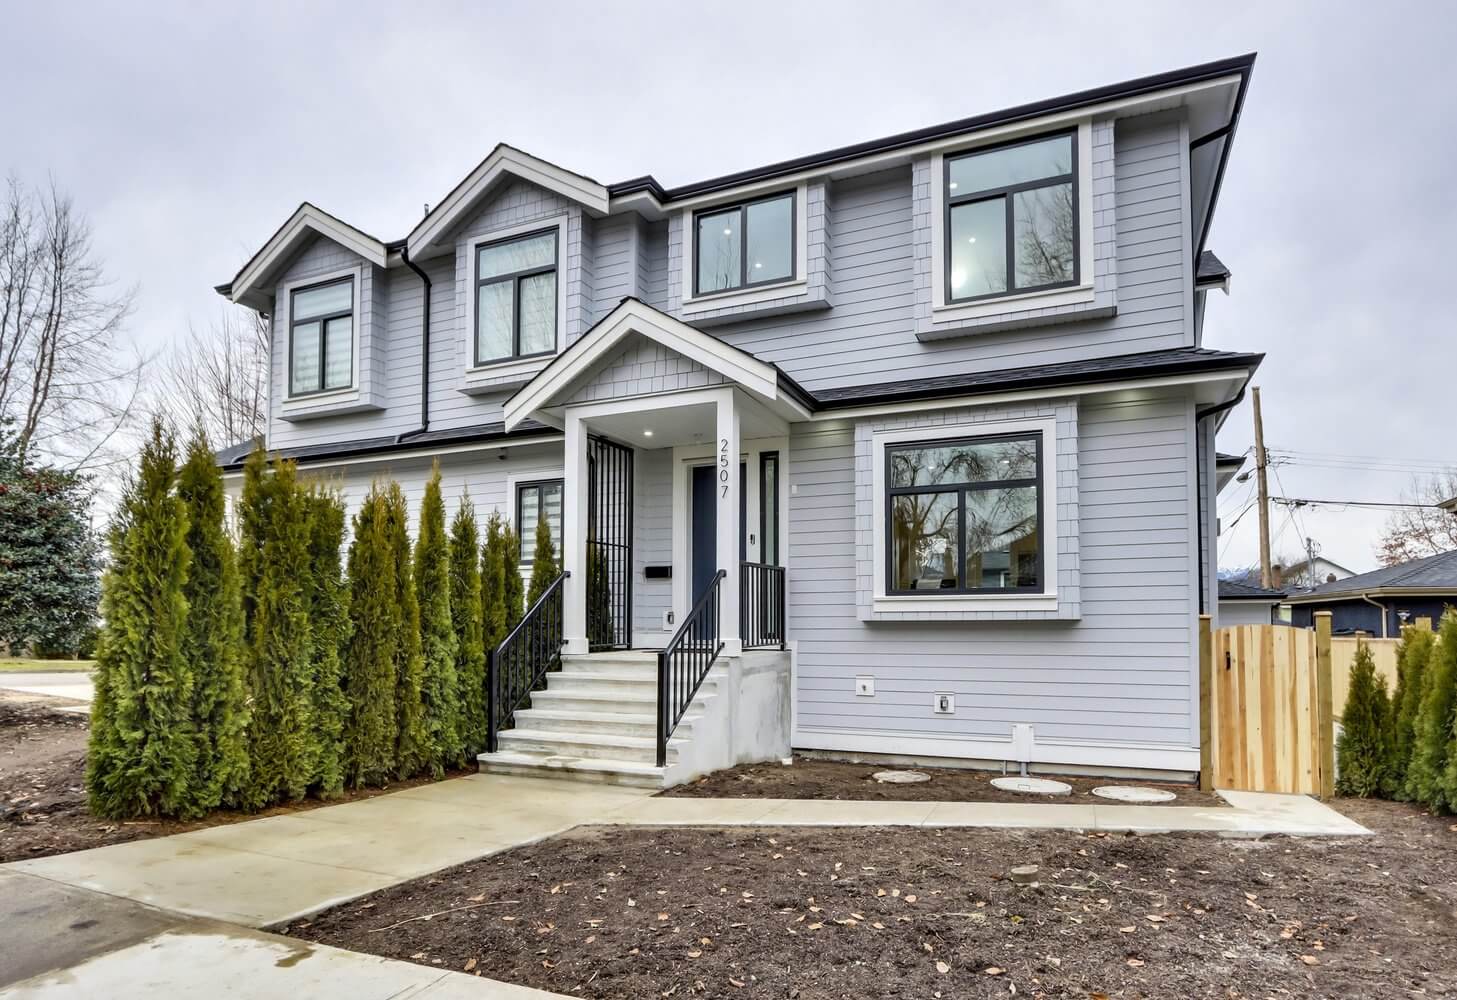
The kind of light present in a scene and its interaction with different objects may affect the colors captured in a picture. For instance, when the sky is dreary outside, a house’s normally vibrant yellow exterior might seem boring.
By removing color casts, you may restore the property’s original hues. This editing method will remove the undesirable tint that obscures the actual colors and convert them to their original splendor. Shadow dispelling in real estate photo editing comes very handy with exterior shots and where your own shadow is cast during the shooting process.
You can also eliminate the reflections caused by lighting or oversized items and reduce the glares.

2.2. Item removal
Potential buyers want a clean property look so they can imagine living there. Decluttering makes the space more open and welcoming. Of course, you can ask the residents to tidy the place before the shoot. You can also arrange decorations and objects yourself.
Nevertheless, there are always some items that you can’t move or remove during the shoot. And that is why item removal is a handy trick in real estate photography, mainly when a resident or tenant is currently occupying the estate.
To order item removal at unbeatable price click below!
3. Addition
We may wonder why we should add anything to real estate pictures. Since we want to capture the property as it is, how can we justify addition as part of real estate photo editing?
The secret here is that addition in real estate editing is all about the vibe. You are not transforming the property or making it something that it isn’t. you are only creating a mood that conveys this message: this feels like home.
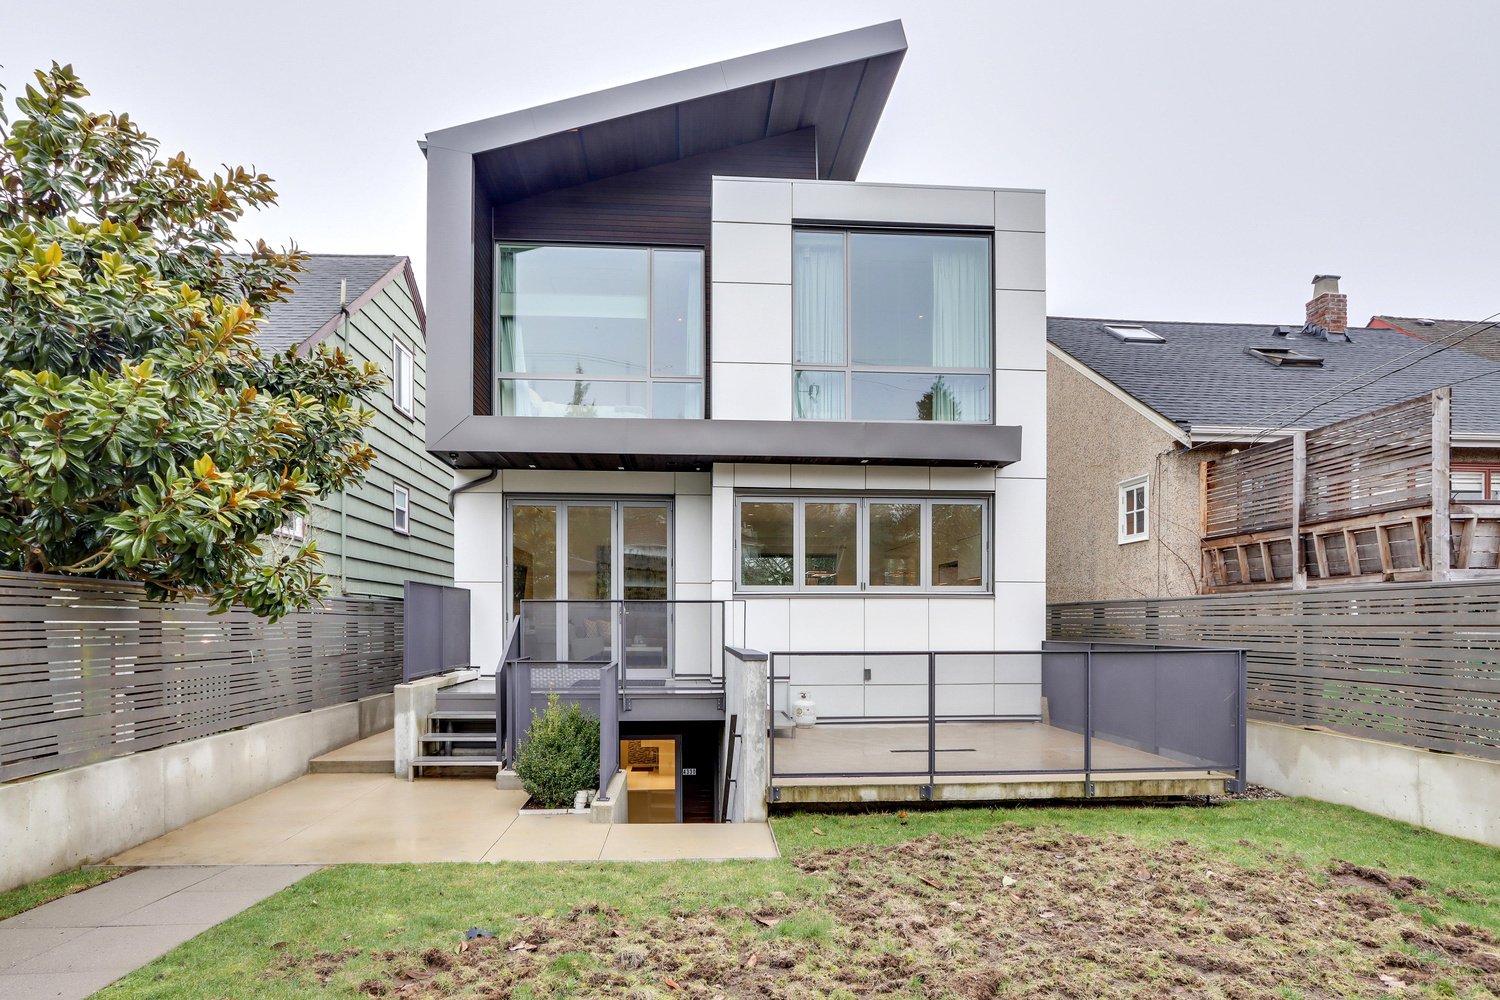
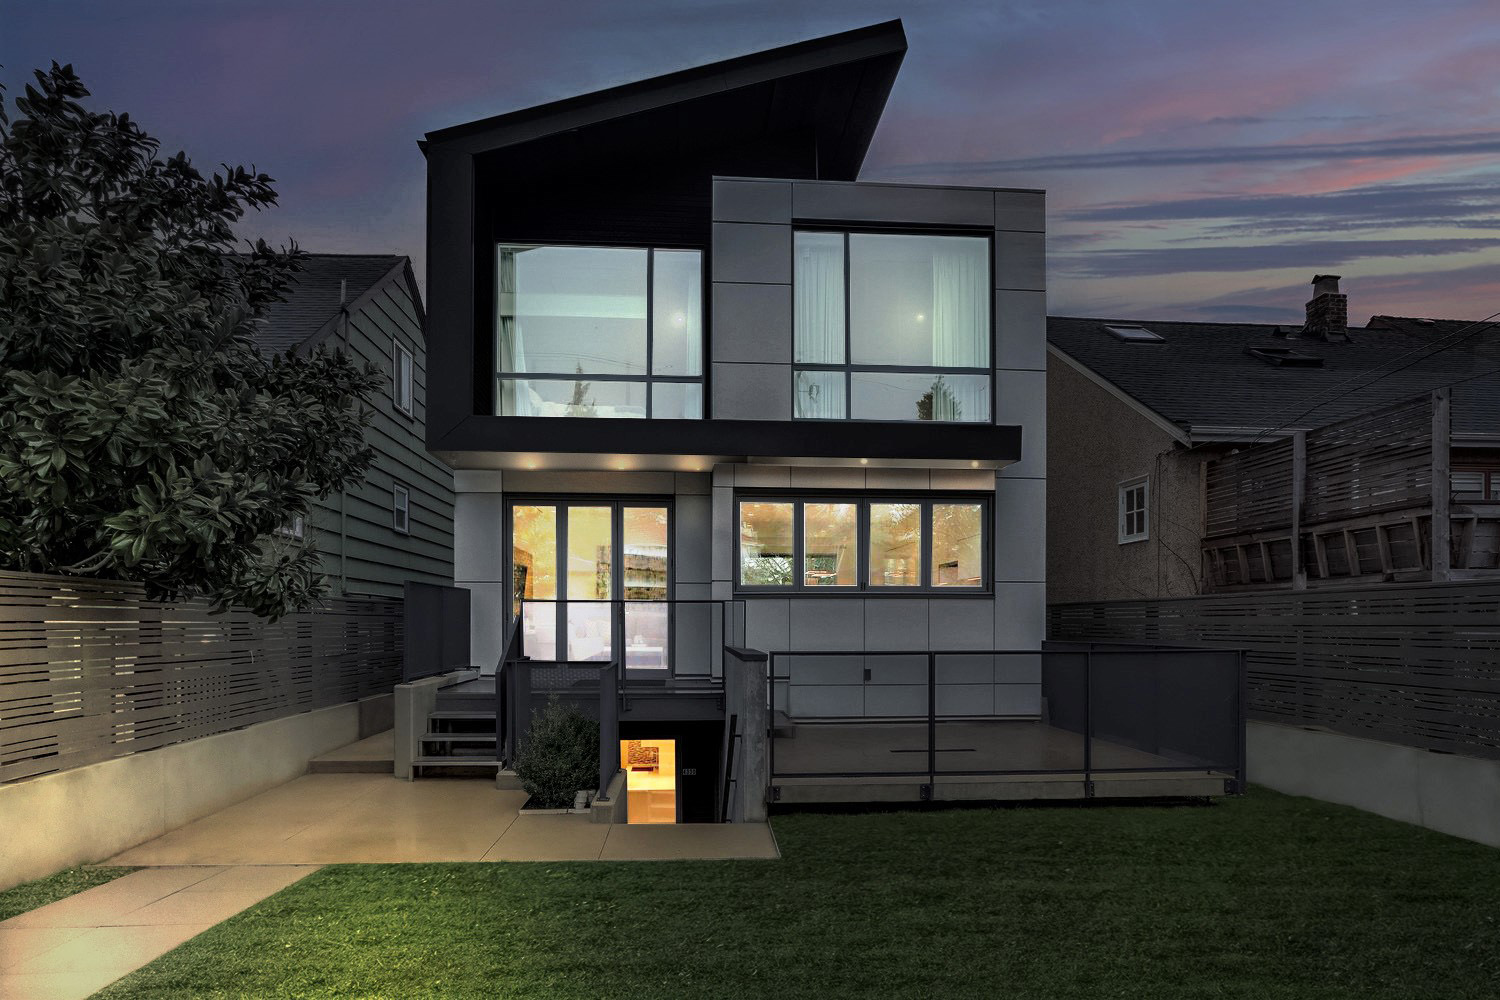
3.1. Changing or replacing the sky
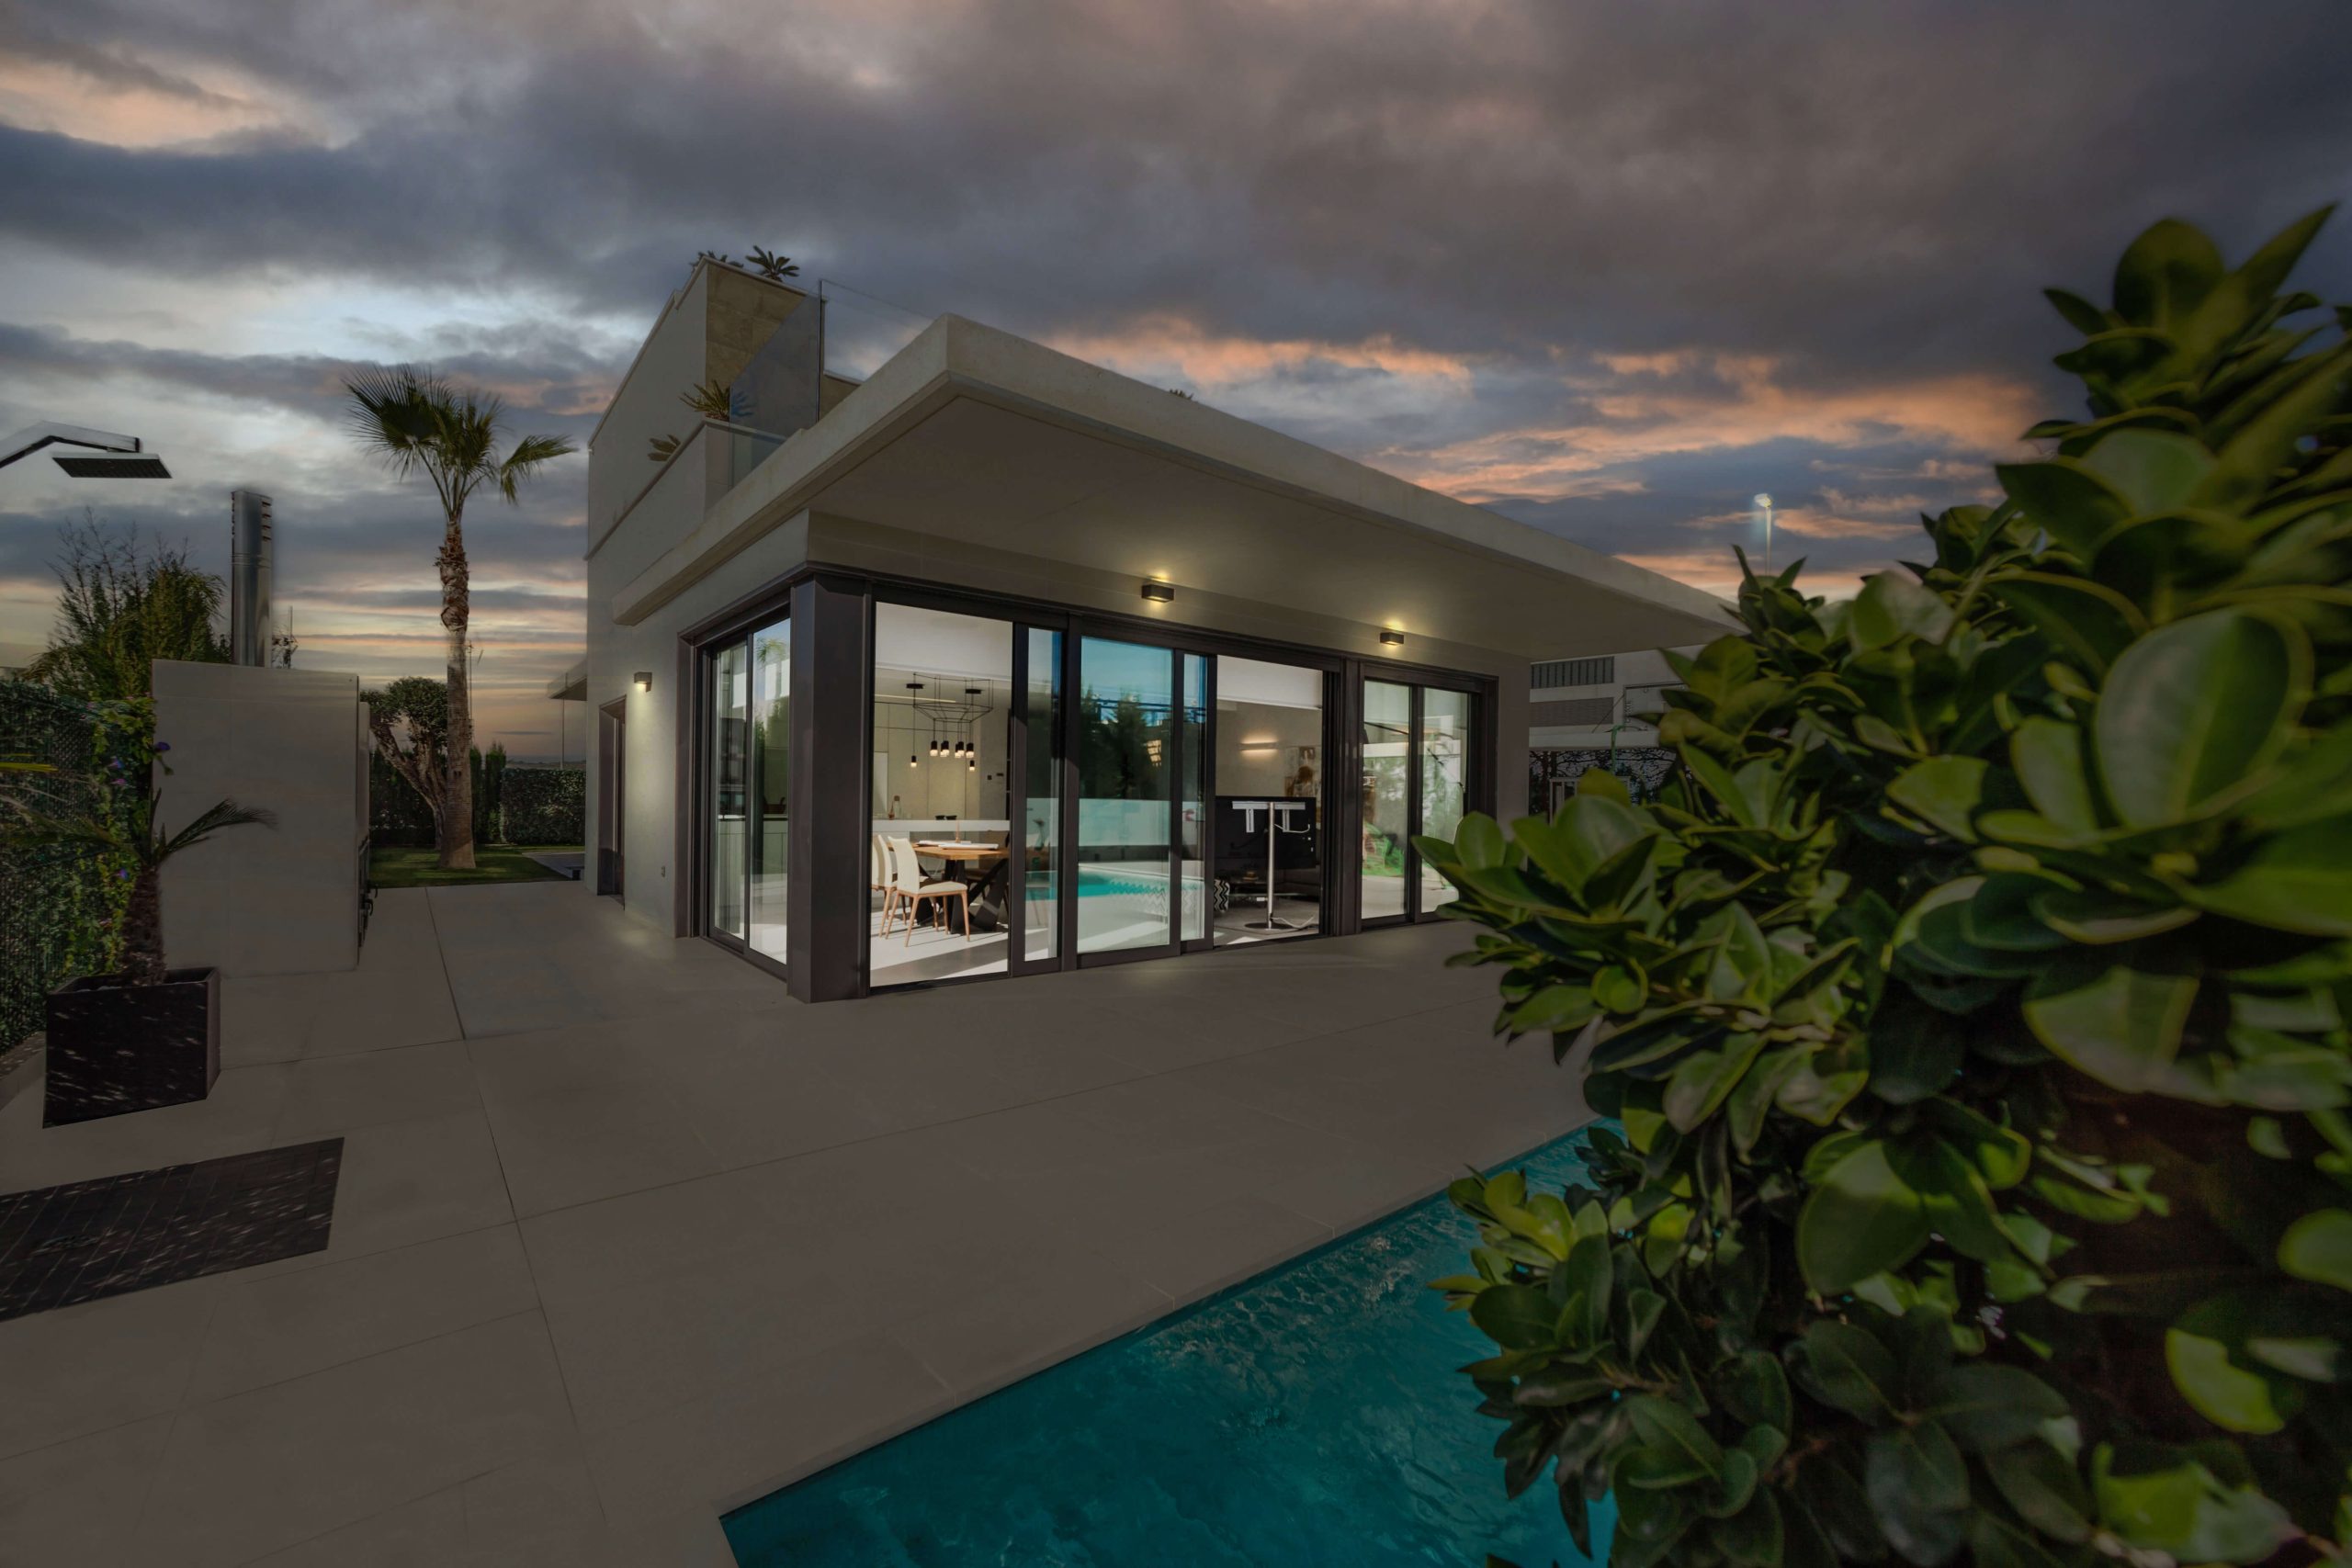
The most vibrant hues are produced on sunny and bright days. Experienced picture editors can transform the dreary, cloudy sky into bright summer skies. With the appropriate picture modifications, the properties would seem to have been photographed on a beautiful summer day and attract potential homebuyers.
You can also change the day to dusk to have more appealing photos. Twilight real estate photos are trendy in online listings, giving the property a magical magnetism.

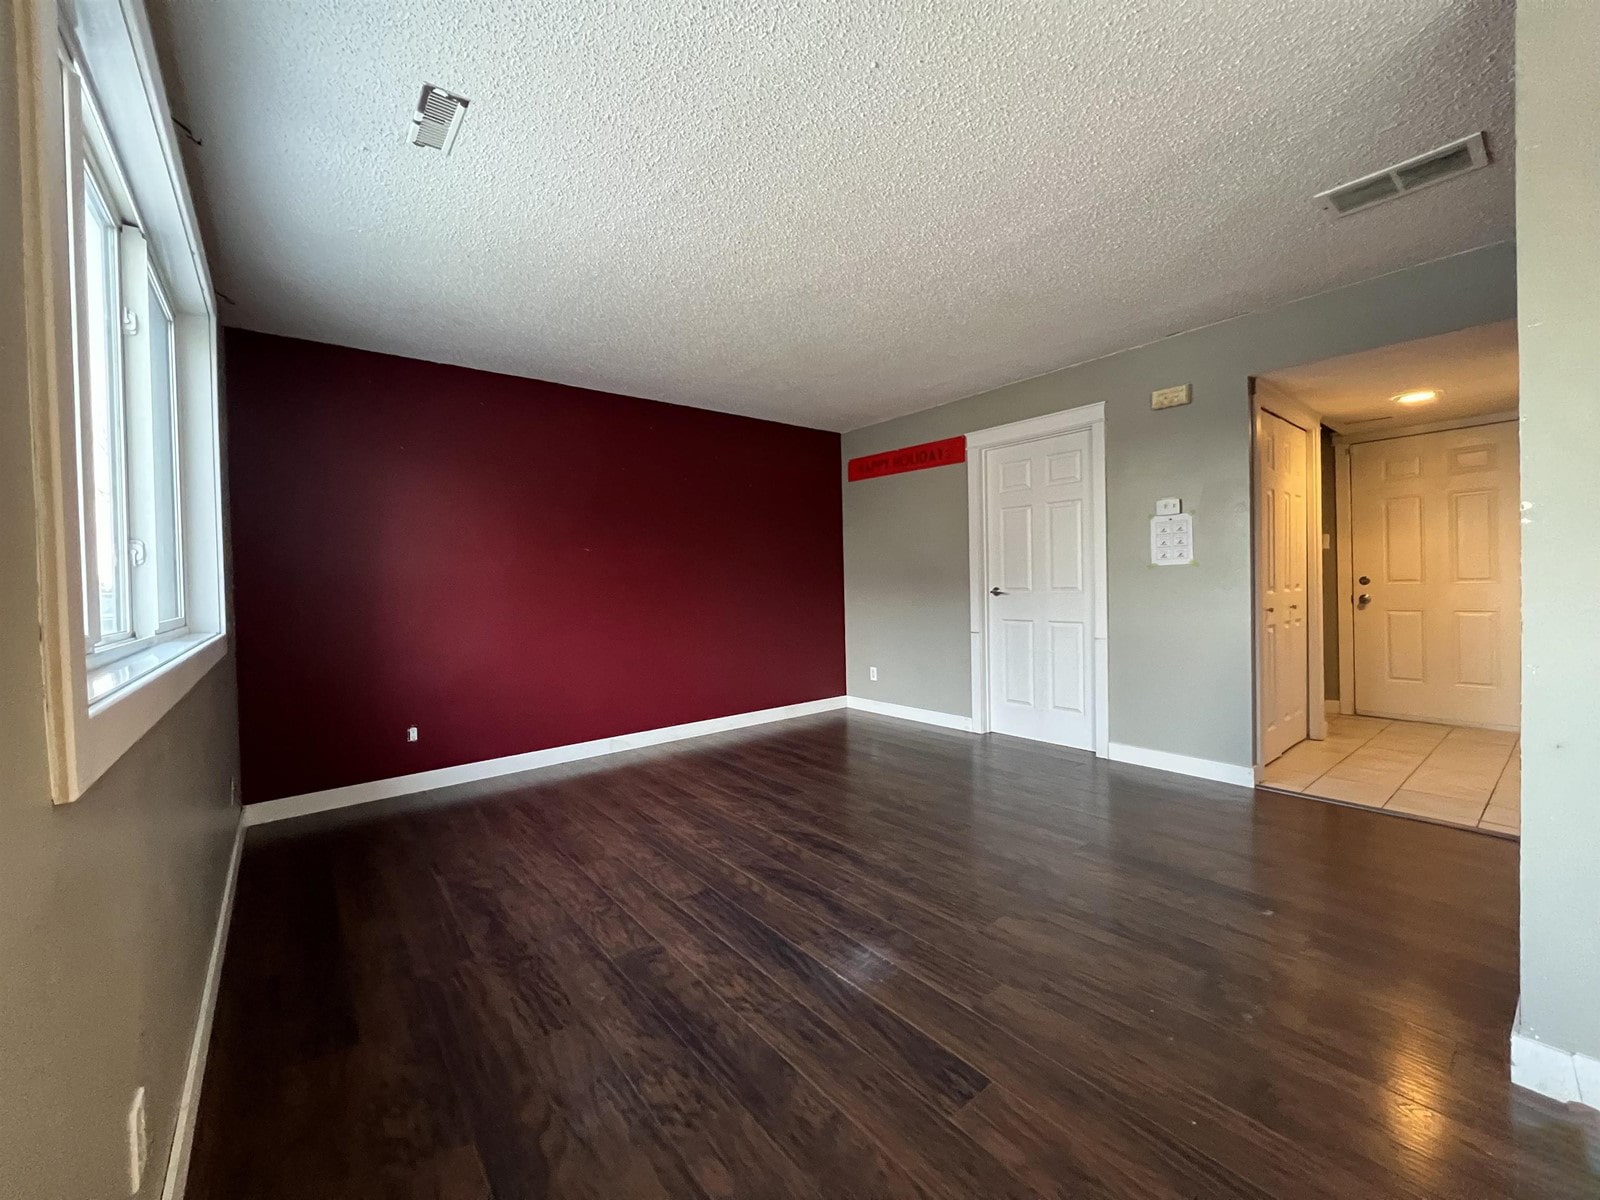
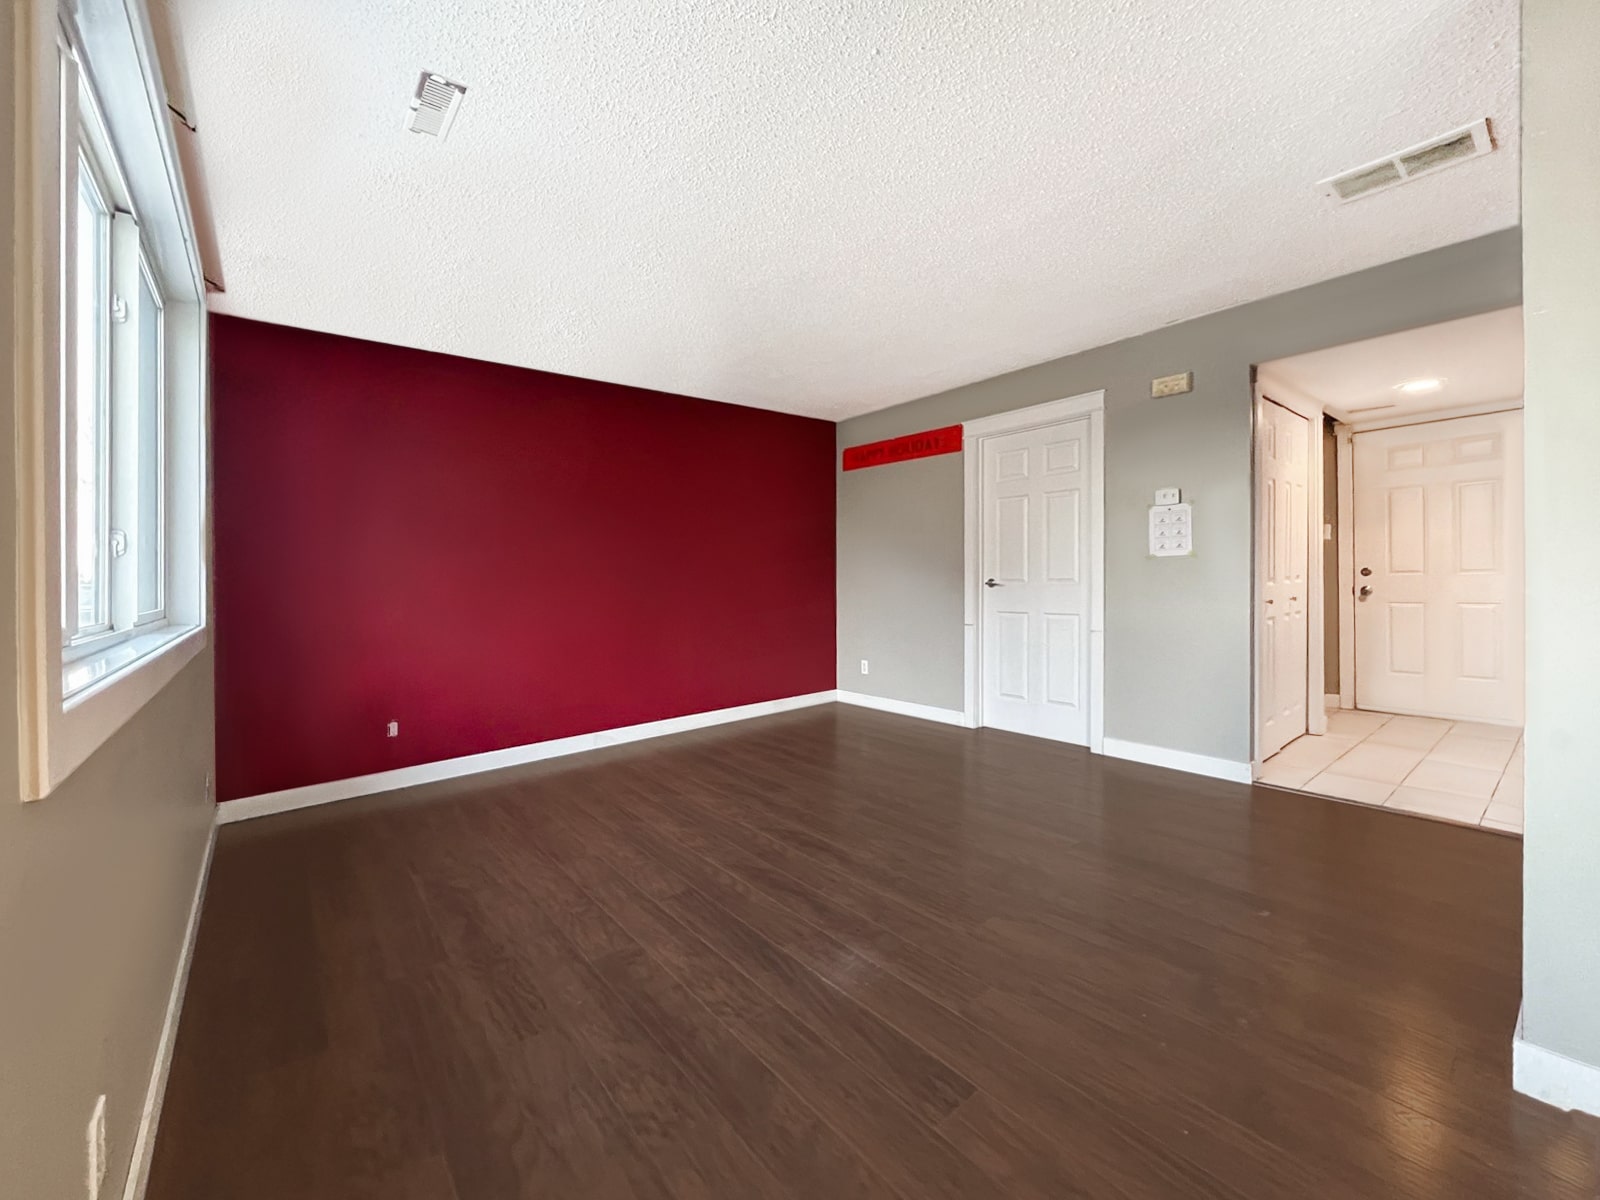
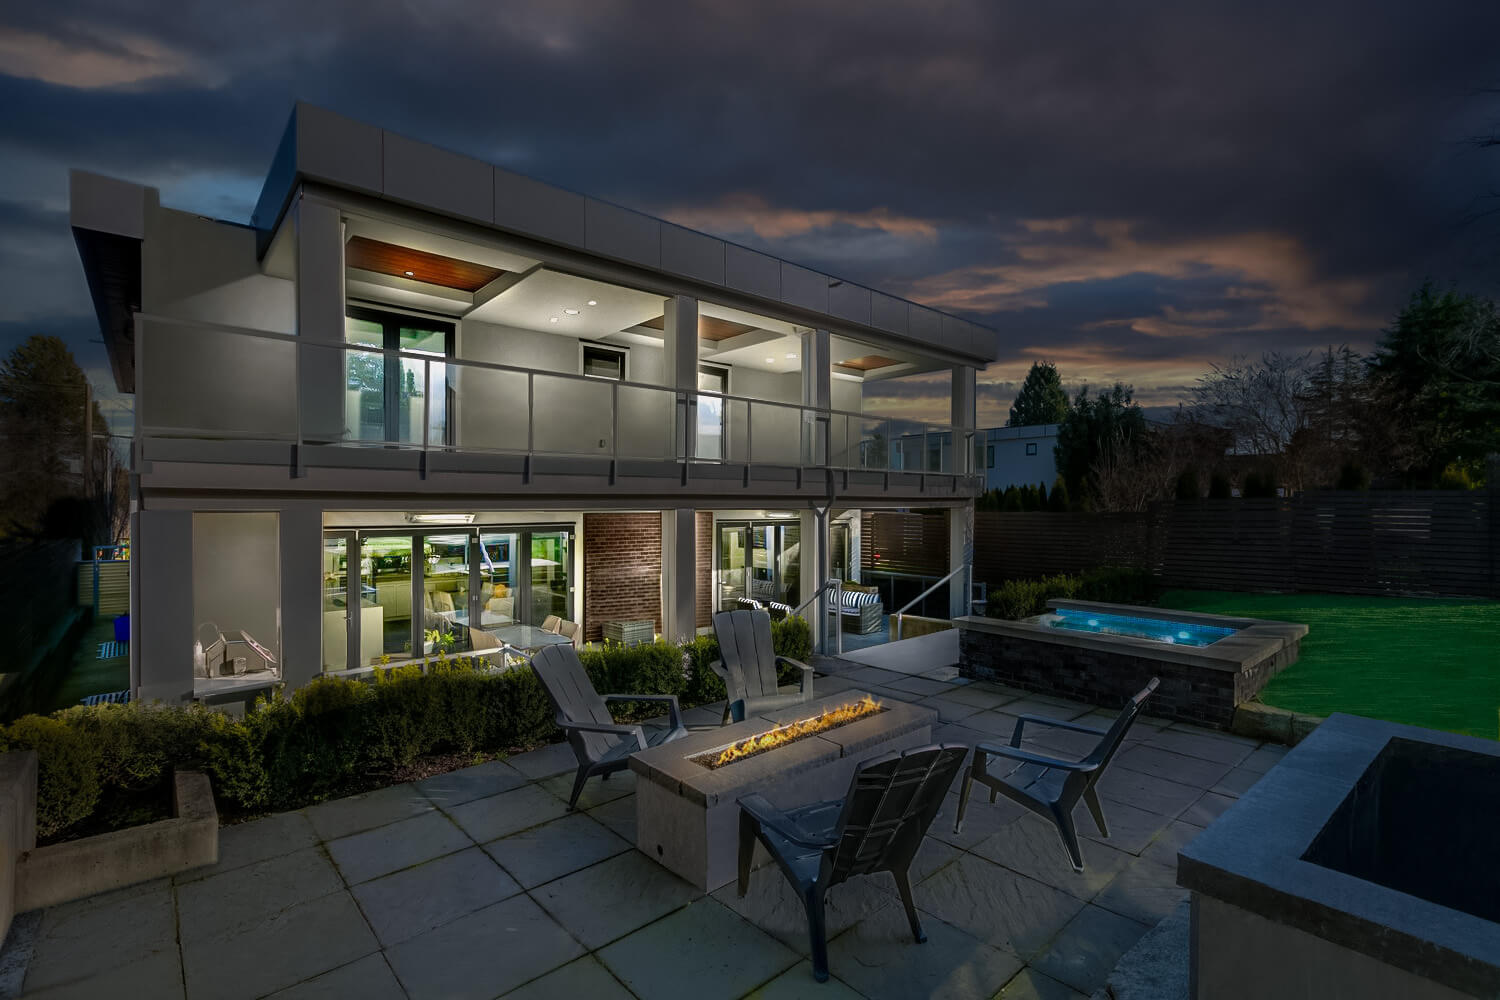
3.2. Turning on the lights
You may have to turn the lights off during the shoot to avoid uneven lighting. But, you know that an exterior shot with the lights on gives a homey feeling as if someone is living here.
This editing allows you to create such a vibe without the risk of glares or different light temperatures.


3.3. Adding fire to the fireplace
Photo additions can perform wonders in generating attention. You can add some flames to the fireplace to make the image seem warmer and more golden. This technique creates a welcoming and cozy atmosphere.

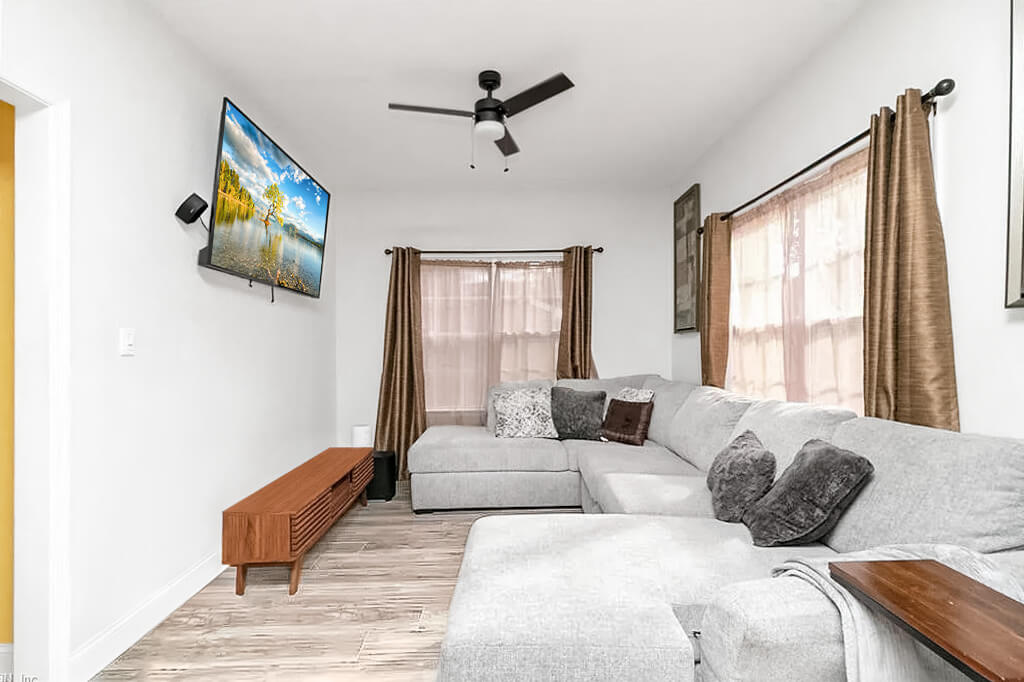
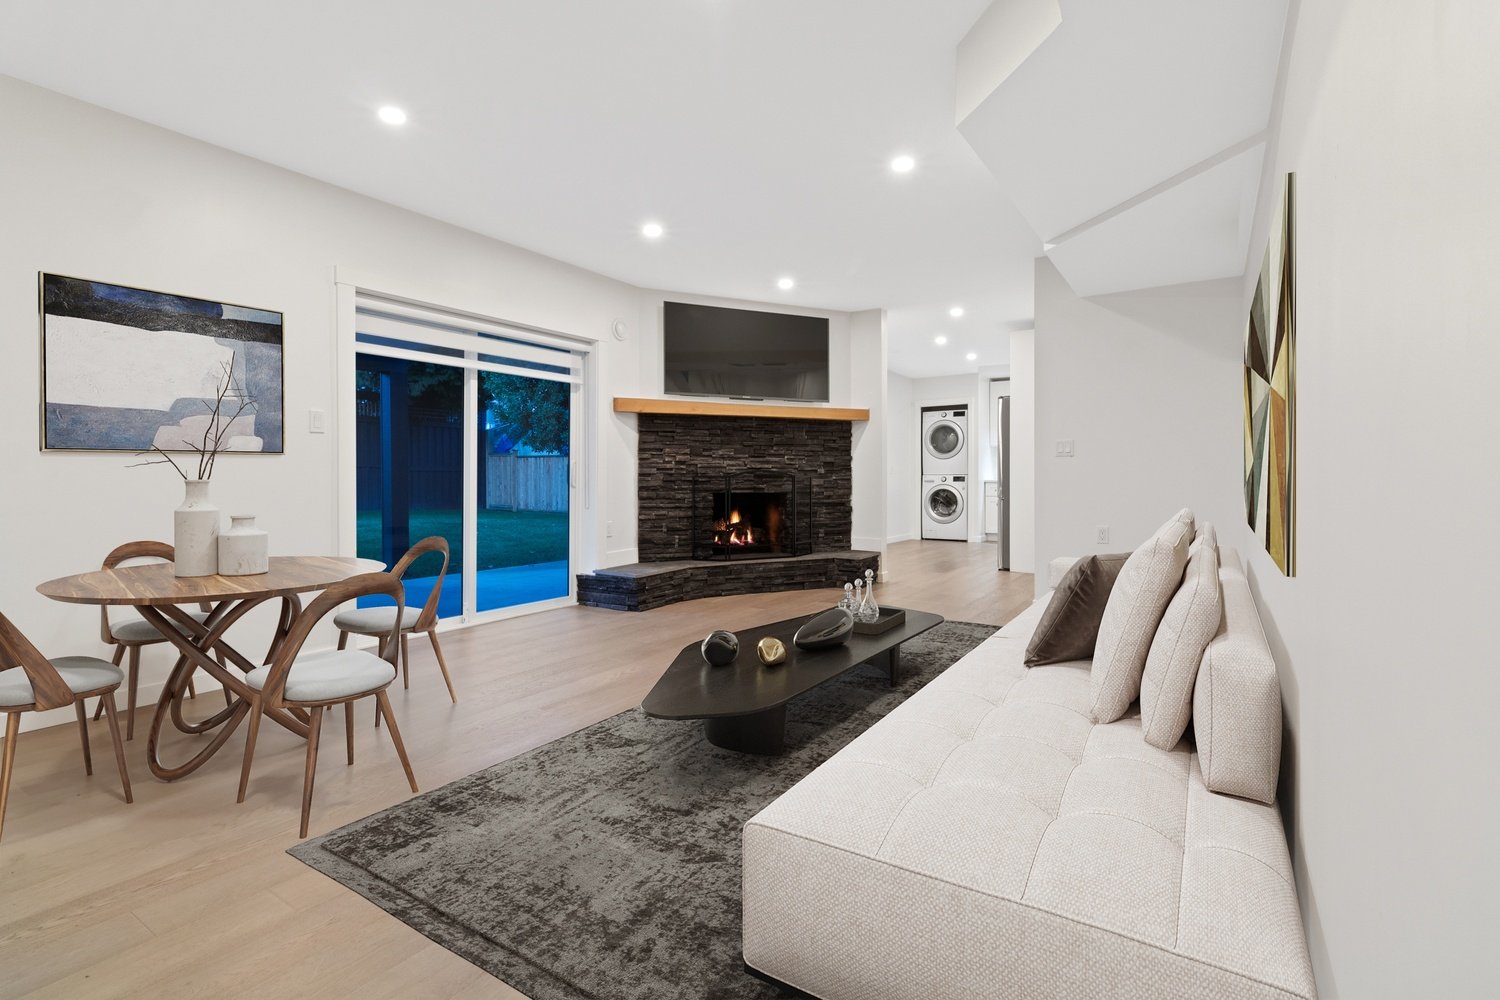
3.4. Overlaying an image on TV or monitors
Digital screens have the potential for reflections; even when you remove the glare, you are left with a black void staring. With the help of overlaid images, you bring life to the setting. You can pick a scene that is relatable for potential buyers.

3.5. Window masking
Natural lights are perfect for interior shots, but then you miss the view. During post-production, you can replace it using your other window shots with different lighting and bring focus to the spectacular scenery.3.6. Virtual staging
Staging has become an integral part of the real estate market. Traditional or real staging has proven to be a compelling albeit pricey installment. It assists homebuyers in envisioning living there. With the development of digital techniques and the tendency toward online purchases, virtual staging has become an adequate substitute for traditional staging. You might think this does not fall under your duties as a real estate photographer. You may be right in thinking as such, but you would be the one falling back from the market. When there is a high demand for new and practical features, the winner will be the one who offers all the available editing techniques in the market, including virtual staging. By adding furniture and decorations to photos of an empty listing, you help future buyers visualize how their stuff would fit and what would be the flow of the space.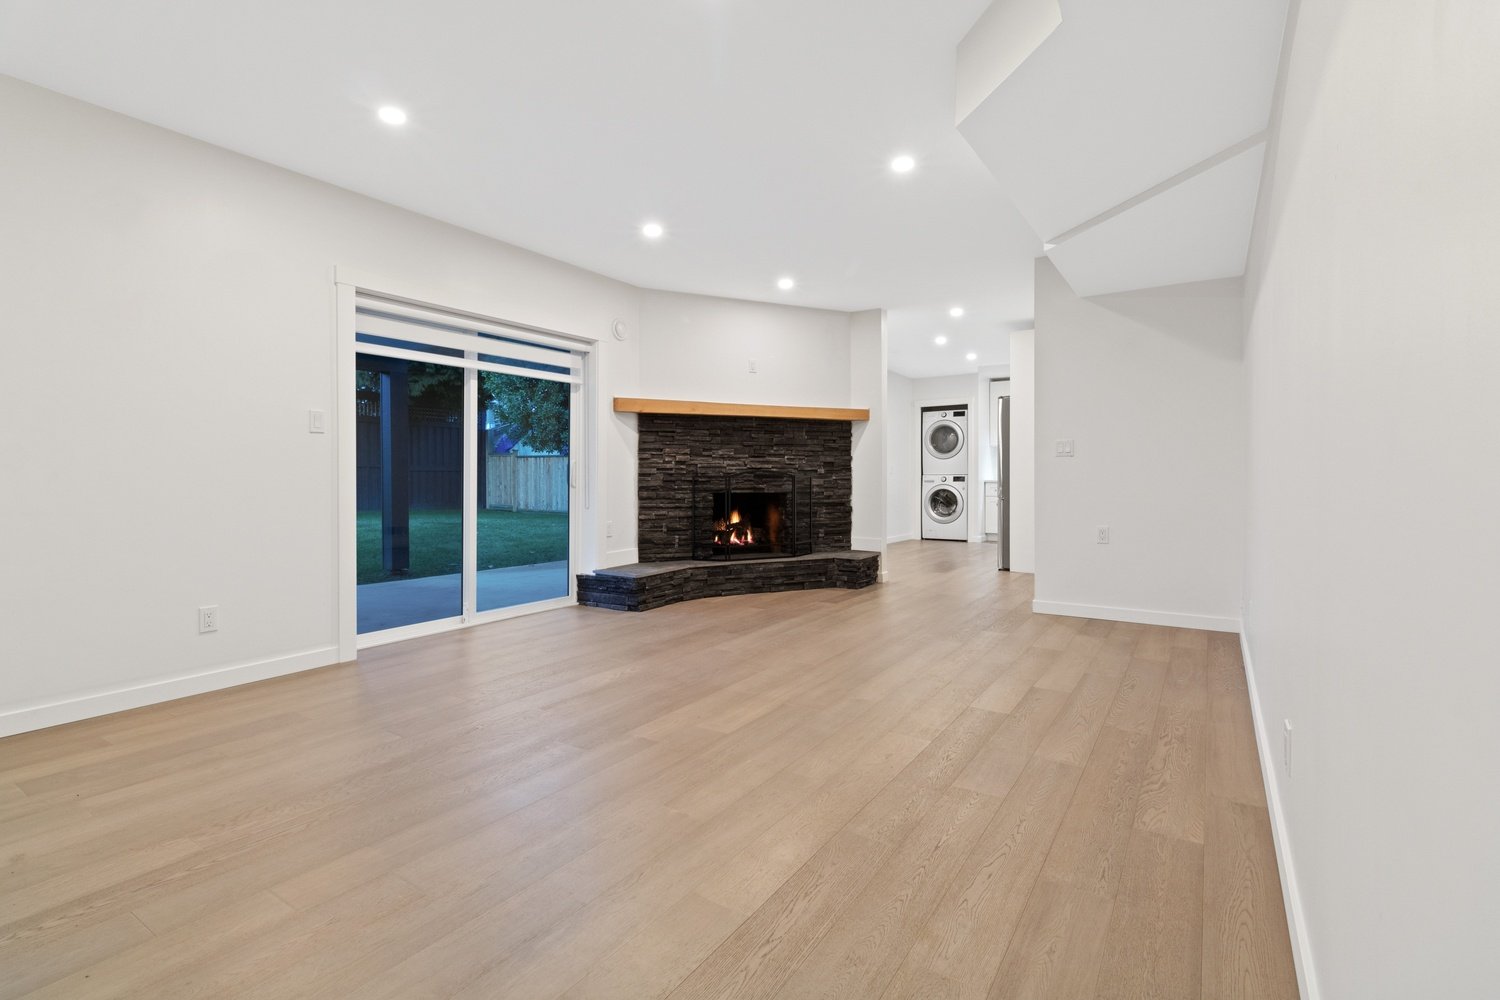
To order virtual staging at unbeatable price click below!
The Limits in Using Editing Techniques
Photo editing can repair a lack of illumination, saturated colors, harsh shadows, and undesirable clutter. You must know that there is a distinct boundary between boosting the picture and fooling the audience. The following are some suggestions to assist you in determining what should not be changed in real estate photography:Never remove permanent installations
Permanent fixtures such as telephone poles, fences, fire hydrants, and railroad lines located along the site have been severely barred from being removed. By deleting a specific fixture, you risk being sued for material misstatement. You may, however, photograph from situations or angles that reduce or hide those unpleasant elements.Don’t change the background
The homebuyers want to see the actual property in its natural setting to make an educated selection. Sometimes, you may alter the whole backdrop of a photograph to make it even more striking. Don’t attempt to do so since this clearly misconstrues the property.Never deceive your customer
You must snap a photo of the property in its current state. For instance, if a big hole exists in the wall of the house, do not deceive the buyer by concealing it in the photograph. Taking photographs for real estate sometimes requires post-production editing. However, it should be done with extreme caution, and you should always avoid deception to maintain a favorable reputation.Final Remarks
There are limits to what we can capture with our digital cameras, but none when it comes to image enhancement for property listings. Real estate photo editing techniques are supposed to make listing images as if the prospective buyers are standing in the property and inspecting it with their own eyes. In a way, as the real estate photographer, you are the ambassador of future homebuyers. You visit the property on their behalf, capture all its spaces and features, and then edit them so that they match what your eyes caught in the first place. So, it’s not just about your camera; what makes a successful real estate photographer is the ability to create images that match reality in all its glory.FAQ
The technique of digitally modifying a stored image using software is called image enhancement. This procedure allows you to alter digital photos excelling for presentation or subsequent image analysis. In real estate, image enhancement entails the following:
- Light and color adjustment
- Geometrical alignment
- Removing unwanted objects
- Adding charming features
There are multiple service providers regarding image enhancement in real estate, and prices differ from one company to another. Here at Revivoto, our comprehensive image enhancement service starts at $0.95.
We offer a lower price than other companies because we have an experienced team of professionals and sophisticated proprietary technology. Due to that, we can process more photos in less time and deliver them faster than any other company, which enables us to receive more orders at lower prices.