
 (1)")
Before the Shooting
Before starting to shoot, make sure to ask your clients if there are any features in or around the house they want you to highlight. Let them know that you’re gonna film every part anyway, but you want to make sure that you highlight their favorite selling parts of the house in the video.
Although you may know how to shoot real estate videos, you definitely don’t know the neighborhood, as well as the owner does. A nearby lake or a hospital a mile away from the house might turn out to be a good selling point that you, as a stranger, may simply overlook.
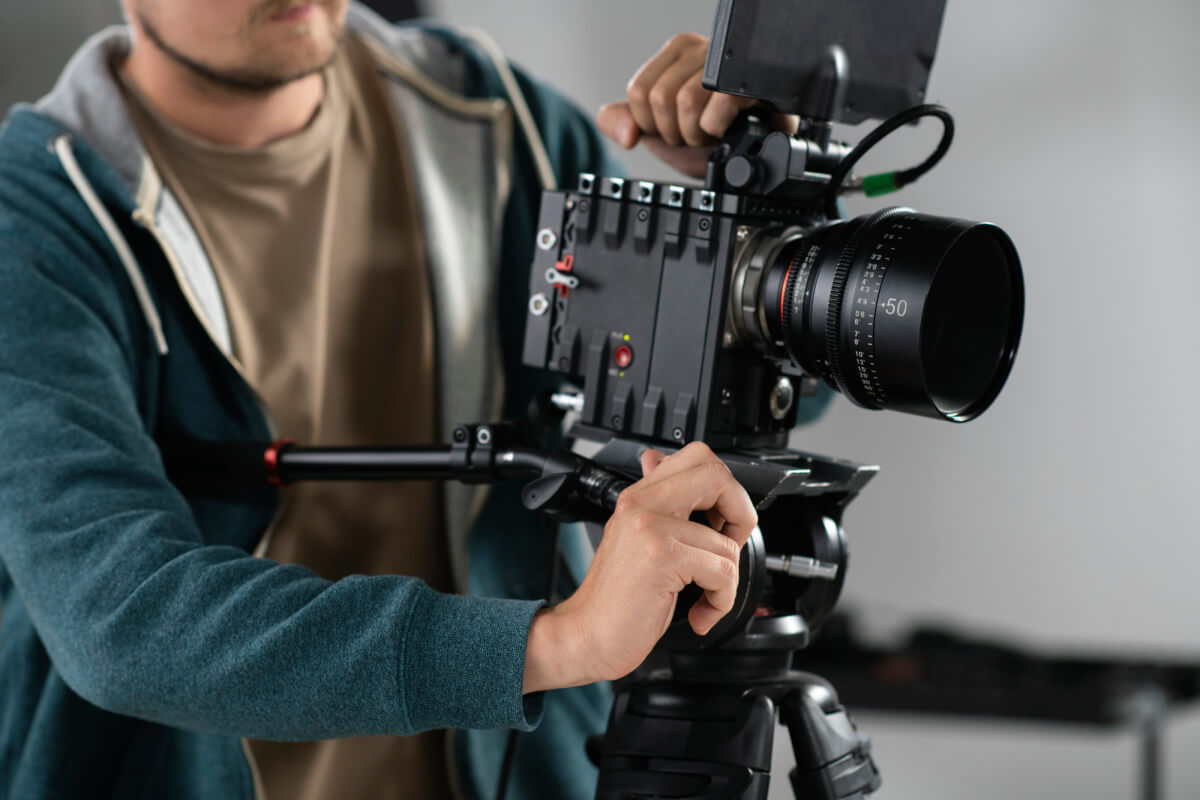
All About the Camera
There are a variety of cameras you can use for real estate shooting, and some of them have certain features that others don’t. This means that with some cameras, you simply have more options. So, if you can, you’d better go for a high-quality camera that is equipped with the latest features.
Camera Settings for Shooting Real Estate Videos
There is a single setting for all kinds of cameras that would work perfectly well for all situations. It would’ve been too good if this was indeed true. Sadly it’s not!
If you talk to several videographers, they’ll admit that camera settings are, to some extent, a matter of experience, meaning that you don’t have to be too strict on yourself regarding the right setting. After all, the more experience you gain, the better you’ll get at these things.
But, for a start, you’d better stick to the fundamental settings. As you move on, you can give more room to your experience/knowledge. Keeping this in mind, I will talk about the proper camera settings for different scenarios using those features that all cameras share.
Resolution
Unless you want to provoke a feeling of wartime dismay in the viewers, you should go for the highest possible resolution, which is 4k UHD (3840×2160). This will allow you to record nice, shiny videos that everyone will enjoy watching. If your camera doesn’t have a 4K resolution feature, your next option should be full HD (1920 ×1080).
White balance
The camera setting is gravely affected by room lighting. Not all parts of a house receive the same amount of light. Also, the color of the walls, which may differ from room to room, and room temperature, affect how bright or dark a room looks. Therefore, you should always adapt the camera settings to the lighting of the room you’re filming.
A white balance of 5000-5600k (kelvin) is perfect if the room is purely lit by daylight.
If it is lit by artificial lighting, a white balance of 3500 kelvin, and maybe less, is optimal.
Finally, if it is lit by both natural and artificial light, a white balance of 4000-4500 kelvin is preferred.
To achieve the right white balance before shooting, you can also use a gray card. You only need to place it in the frame you want to shoot and set the camera on the “internal white balance gray detector” feature. Then, the camera will automatically adjust to the right white balance level.
Frame rate & shutter speed
The term “frame rate” refers to the frequency at which images are captured. Shutter speed, on the other hand, refers to the duration of time when the camera shutter is open channeling light onto the sensor.
These two are highly related. Keep in mind the shutter speed should always be set based on the frame rate. As seen below, shutter speed equals 1 divided by frame rate multiplied by 2.

So, for instance, if you shoot at 60FPS, your shutter speed must be 1/120.
ISO & Aperture
We use the term “ISO” to refer to the sensitivity level of a camera’s sensors. As you might already know, the ISO should be as low as possible. This way, you’ll get less, if any, noise in your video.
Yet, not all shooting conditions are perfect. Therefore, you may have to spend some time adjusting the ISO to the lighting of the room you want to shoot.
In order for the light to reach the center of the camera, it must pass through the opening in the lens, which we call the “aperture.” As a rule of thumb, we can say the wider the aperture, the better. This is because, with a wide aperture, you’ll allow more light onto the camera’s sensor and have better exposure.
Picture profile
Picture profile is about adjusting the parameters determining how the camera records the video. Picture profile settings are essential when shooting rooms with various lighting.
Every picture profile may offer certain benefits and present a few challenges. Typically, all cameras detect the best picture profile automatically. So, the safest way to go when shooting a property is to set the picture profile on “auto mode.”
Just remember that to capture a more dynamic range, when you have to shoot a relatively dark room next to a very bright room, a “flat” picture profile is recommended.
Shooting the Exteriors
You must also shoot the exterior so potential buyers can better estimate the property’s actual value. Timing is very important when shooting the exterior side of the house.
You need to check the trajectory of the sun during the time you’ll be shooting. To do so, you can use the “Sun Scout app.” However, the best time to shoot the exteriors is generally just before sunset or after sunrise.
Apart from shooting the surrounding area, you can also provide potential buyers with a bird-eye view of the property. This will give them a much clearer picture of the neighborhood, hopefully affecting their decision-making in your favor. To do this, you can use a modern camera drone.
The good thing about camera drones is that they are quite practical, and you don’t need almost any special skills to work with them. But the bad part is that they’re rather expensive.
While Shooting
Remember, you always want to film the same room at least three or four times, and for that matter, from different angles. Because after you finish filming and go to the editing phase, you might notice your initial judgment hasn’t been quite right.
Having several shots from the same spot gives you the luxury of choice. Even if you know how to shoot real estate videos perfectly well, it doesn’t mean you can shoot each room once only. If you do, you’ll soon regret it.
Also, try to shoot every room standing in the corners so that they look big and spacious. This is especially important if you’re shooting cozy spaces with a lot of stuff in them.
After Shooting
Knowing how to shoot real estate videos is a great skill, yet it’s not enough. No matter how carefully you’ve filmed the property, there are always some modifications in order. After all, you wanna decide which clips to keep and which ones to exclude.
You may also want to apply some changes regarding the lighting, color, brightness, etc. Noise removal, fast/slow motion, and music embedding are some other modifications you may consider.
Final Thoughts
If you, as a real estate photographer, want to move along with the market trends, sooner or later, you should learn how to shoot real estate videos.
The good old days of traditional home staging are well behind us, and virtual home staging is not the only option for many owners. In order to start, you only need to have a camera and learn the basics of real estate videography, as we explained above.
Note: Some of the information provided above is based on tutorials provided by Dennis Schrader and Parker Walbeck. I sincerely thank them both for sharing such great content.