Virtual staging real estate is gaining more and more popularity among agents and home buyers due to its practicality. It seems like a perfect choice for our hasty generation who always want to see the result, rarely thinking about the process!
Today, we’re gonna take a close look at virtual staging service and the advantages it offers. Then, we will explore how it’s done and discuss whether you should do it on your own or leave it to professionals.
To order virtual staging at an unbeatable price click below!
Table of Contents
What does Virtual Staging entail?
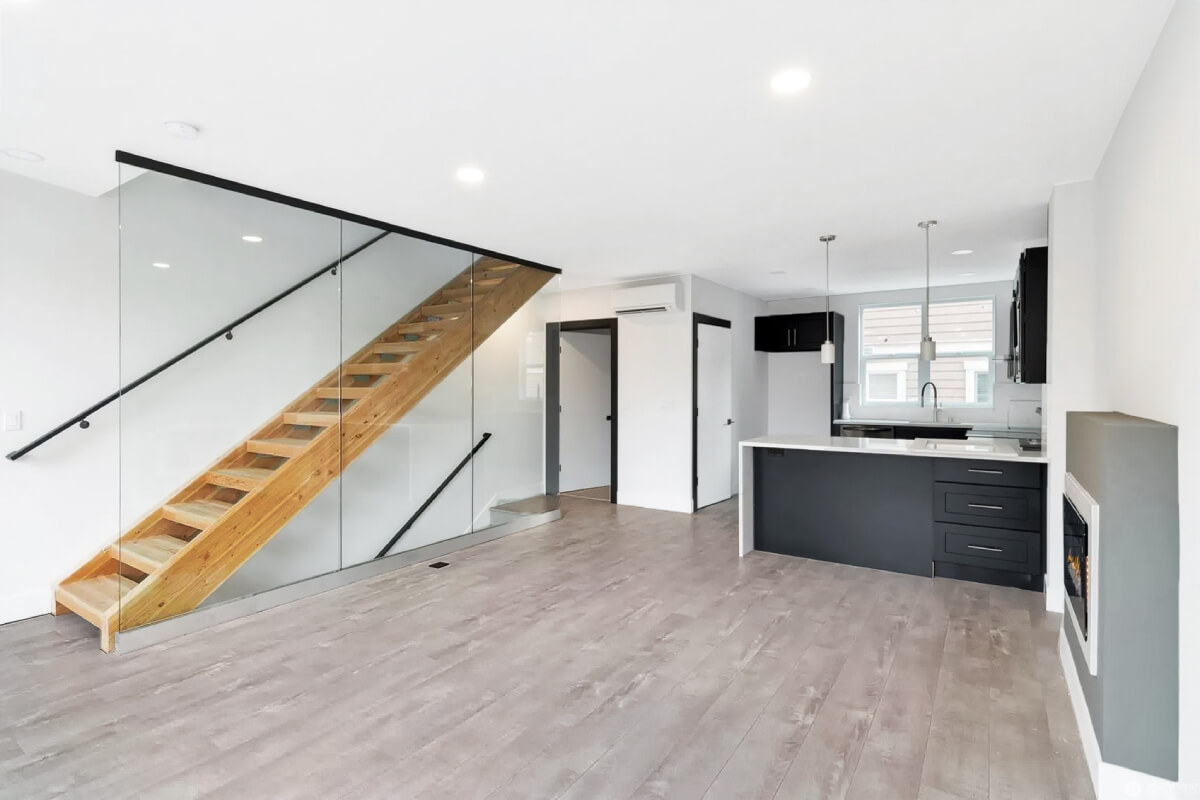
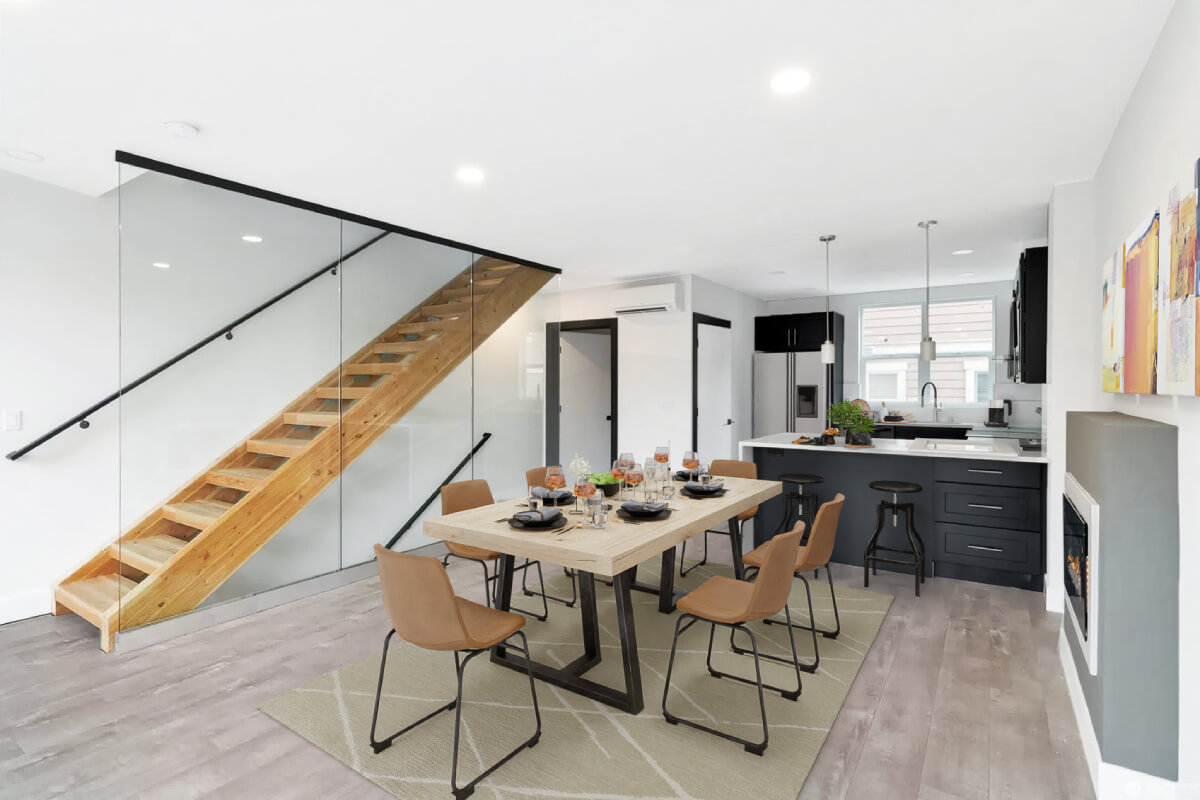
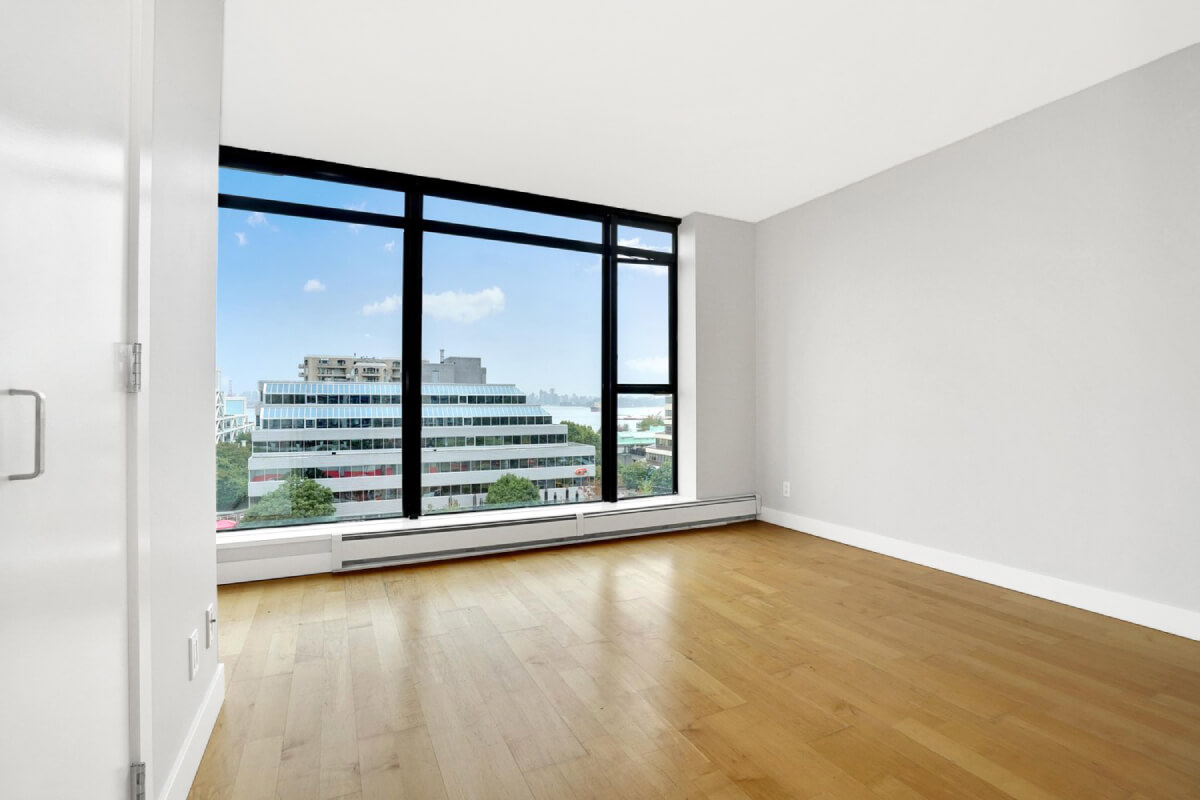
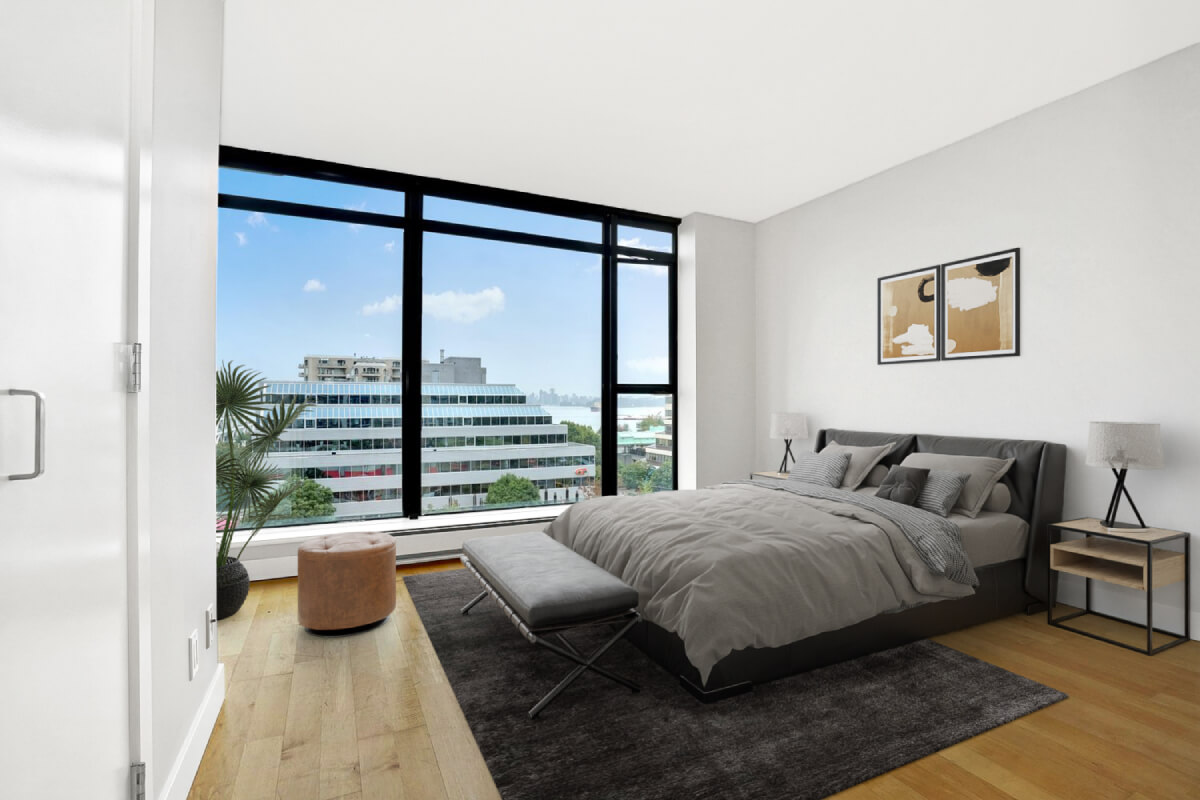
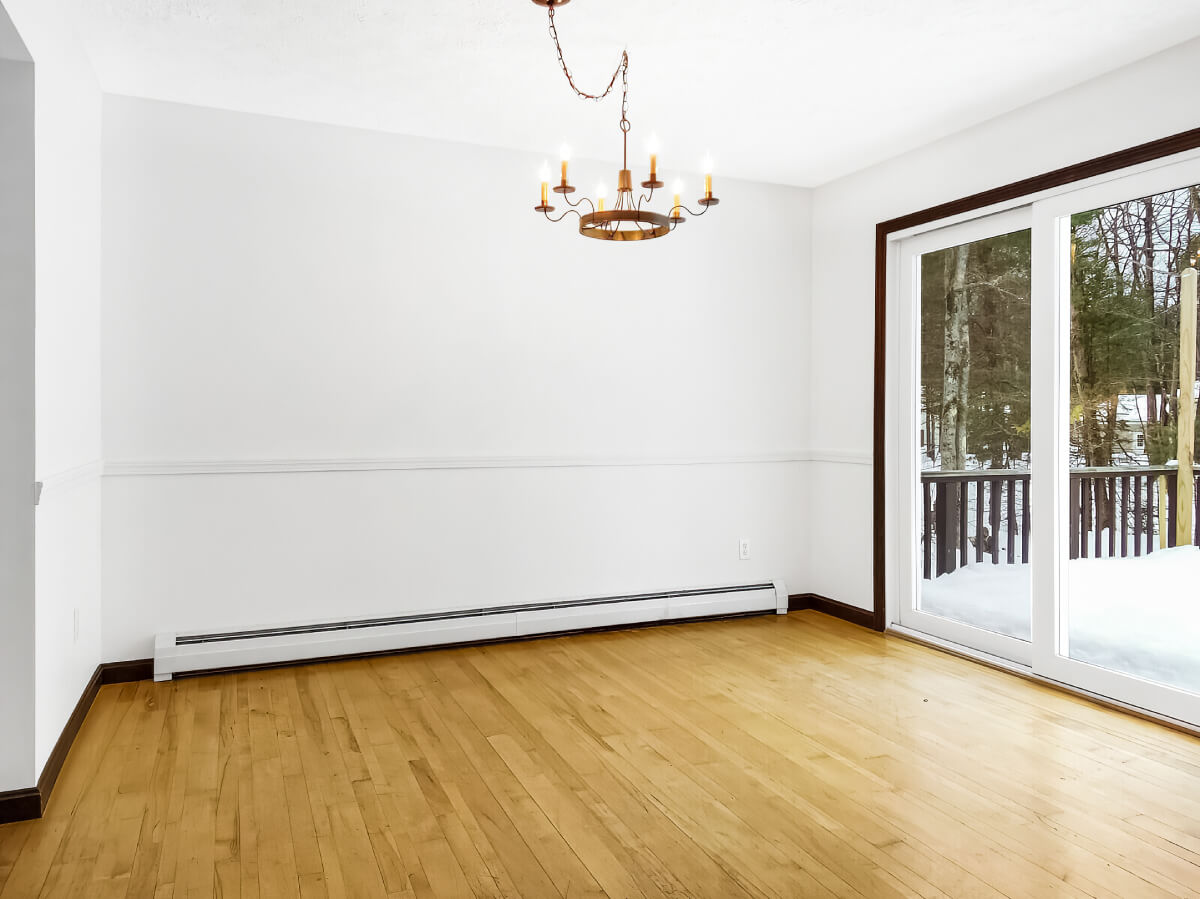
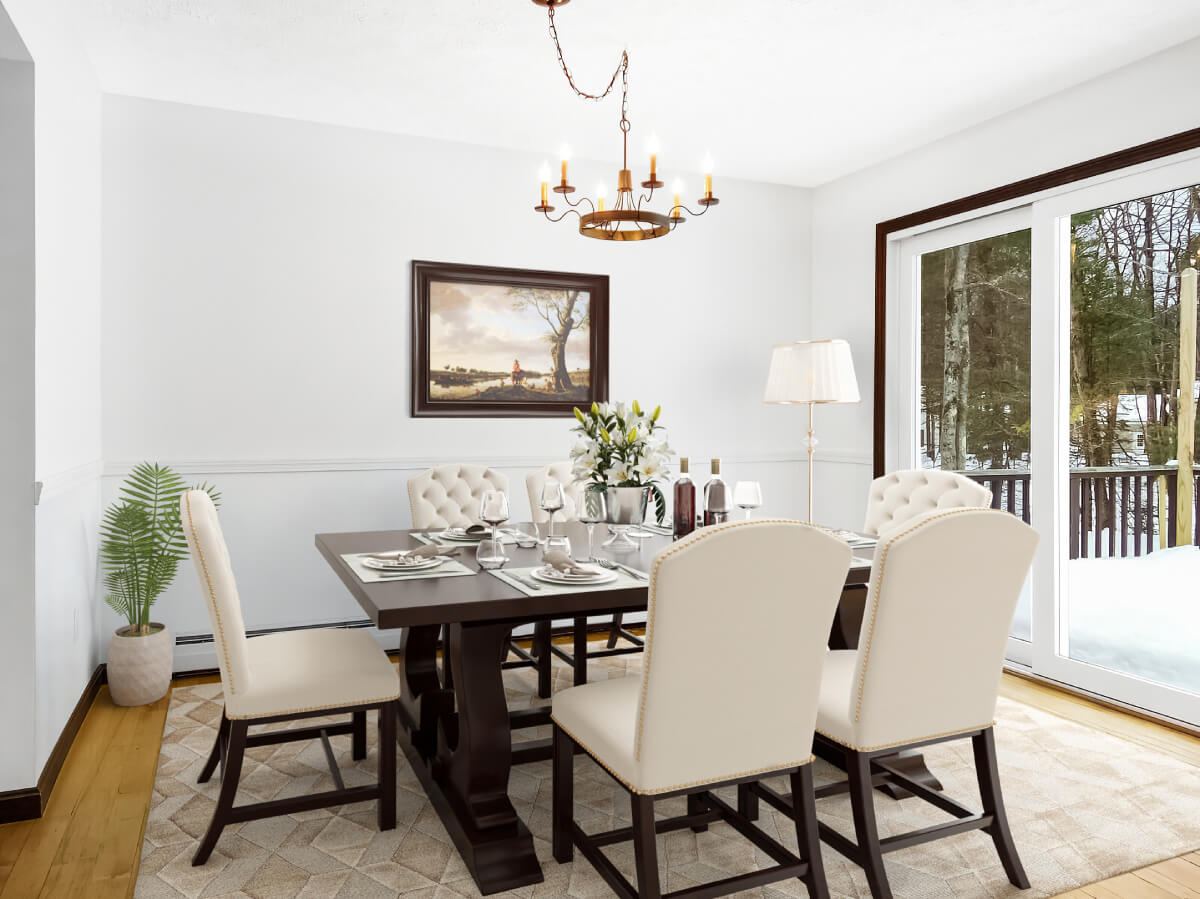
Real estate virtual staging is the process of adding furniture and decorations to the photos of one room or the entire house using digital tools, providing homebuyers with necessary visual information.
The process works best with photos of a vacant property. When dealing with an occupant listing, you should look for real estate item removal service and prepare the pictures for virtual staging.
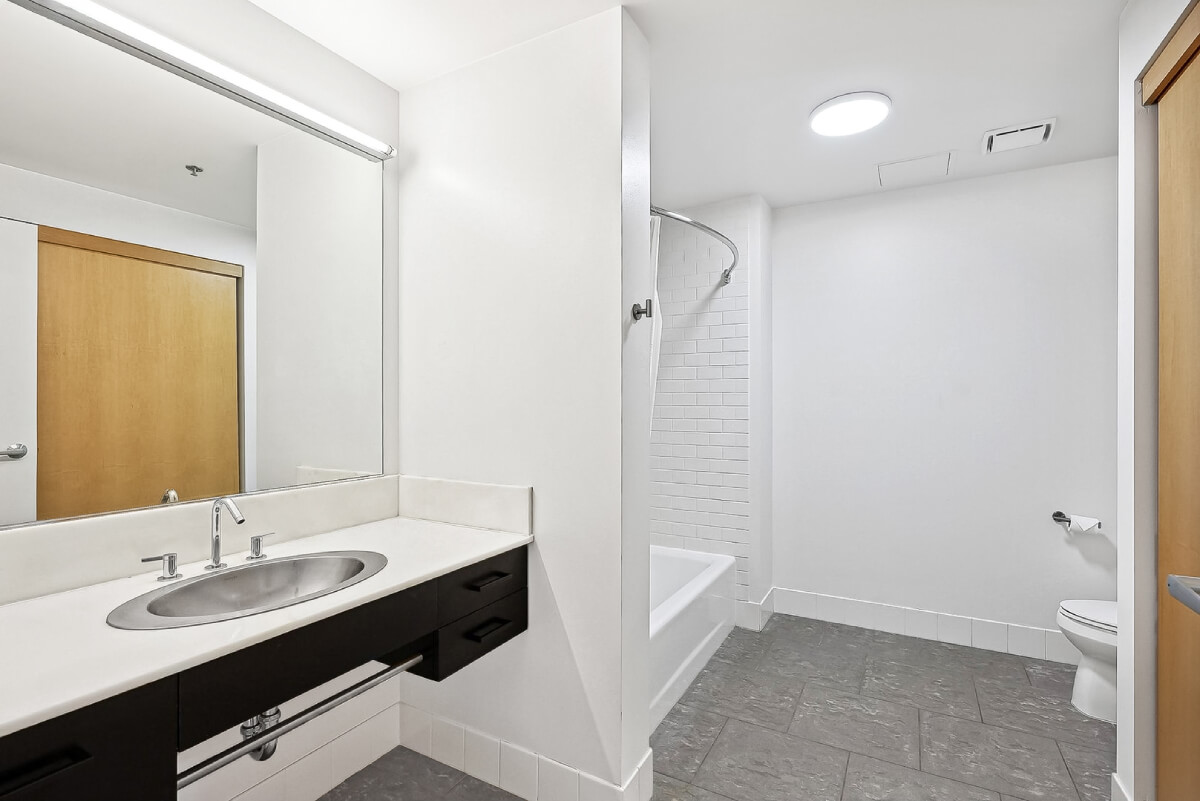
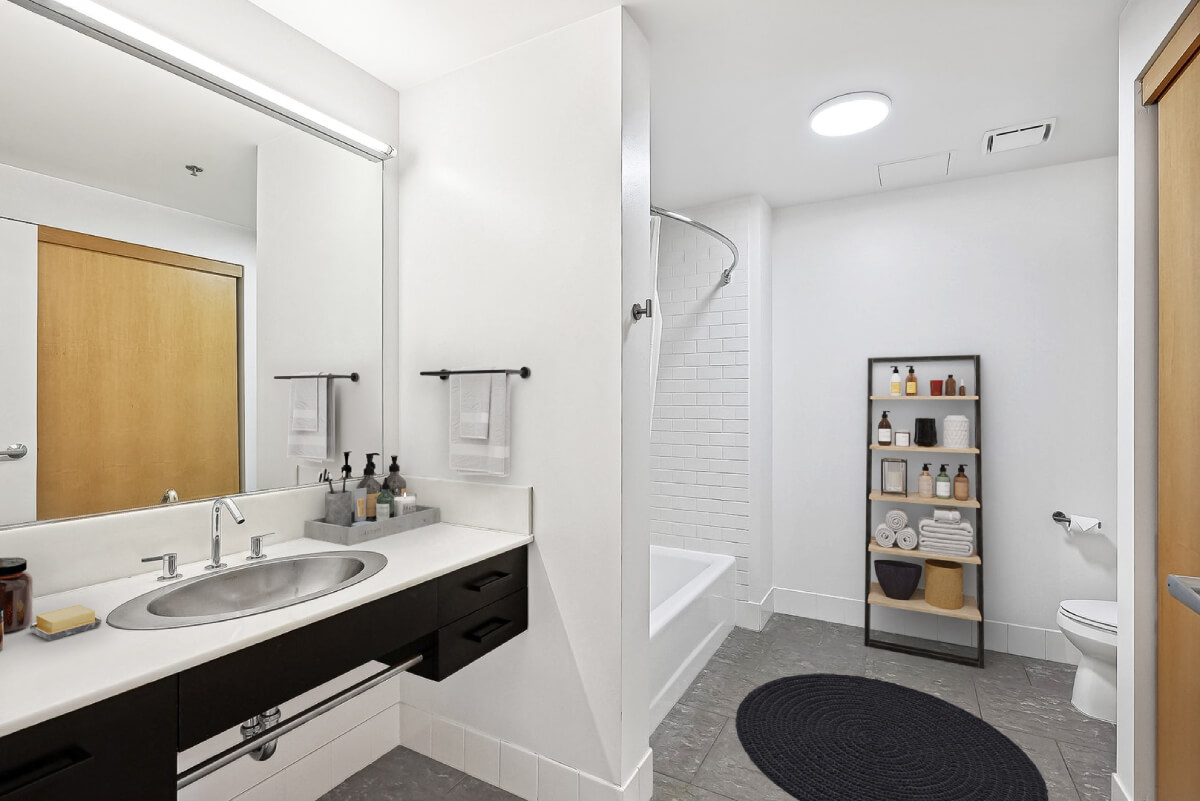
Through virtual staging, you get to show the property’s potential while allowing prospects to check out the property as it is and imagine themselves in the property. The so-called before/after shots provide homebuyers with the necessary visual data and determine if they want to proceed further or not.
To order virtual staging at an unbeatable price click below!
What Are the Advantages of Virtual Staging?
As we all know, the search for a home begins online. In that regard, the more visual information you offer, the stronger the effect will be.
Virtual staging is a proven method for marketing a listing, and here is a list of the advantages it offers.
Assisting with the visualization process
You want to showcase the property’s potential to your clients and prove that their lives can fit there. This is exactly what buyers expect to learn without having to visit the place.
Saving money and raising ROI
Your budget for virtual staging is around 2% of what you’d have to pay for traditional staging. Additionally, research shows that virtual staging affects prospects’ perception, enhancing the chance of scheduling a showing. That is why you get a higher return on investment (ROI) with virtual staging.
Saving time
From the moment you place your order for virtual staging until you get the edited photos, it usually takes around 24 hours. Traditional home staging takes way more than this. Sometimes three or four days.
Convenience
From the ease of your home, you can place your order for virtual staging. There is no need to get an appointment or meet up with the graphic designers. You don’t even need to email or call anyone. You simply place an order online and get it back in less than a day.
Multiple design options
Variety in design means appealing to different tastes and reaching a vast audience. Rather than being limited to the physical stager’s inventory, you can browse through catalogs and pick one or more designs you see fit. You can also have several designs for the same room. Among such designs are:
Zero manual labor for customers
From your side, the only thing you should do is upload the photos. Compared with all the work and sweat involved in traditional staging, it’s truly nothing.
Honest marketing
Nothing will be hidden under a rug or behind a couch. With one click, homebuyers can see how the property looks with and without virtual staging. It doesn’t get more honest than this.
To order virtual staging at an unbeatable price click below!
How to Prepare the Room for Virtual Staging?
Now that you’re aware of the capacity of virtual home staging, you just need to take a few steps to get the desired outcome for your listing. To start with, you should prepare the rooms to be photographed and then take a few pictures of each room. After that, you can think about staging those rooms virtually. Let’s go through each phase step by step.
Clean the rooms
Taking everything out of the rooms does not mean that you’ve cleaned the room. There should be no speck of dust on the walls or stain on the windows if you want good results with your virtual staging. So, after emptying each room, sweep the floor and the roof, wash the windows, dust the walls, and clean the doors. Only then can you claim that your rooms are clean.
Paint the walls if necessary
The whole idea of home staging is to help potential buyers get a picture of life in a to-be-sold property. This entails that legal virtual staging allows only for adding “features,” not appliances. So, apart from the furniture and decorations, you can’t add anything that counts as a selling point but doesn’t exist in reality. That’s why we usually recommend that the walls should be painted as they are, more often than not, stained or the paint has been discolored.
Provide enough lighting
Another thing you should do is make sure that the room is well-lighted. It doesn’t matter if you let in natural or artificial light. What matters is that the pictures must be bright, and brightness comes with light.
To order virtual staging at an unbeatable price click below!
How to Take Photos for Virtual Staging?
when it comes to taking pictures, you can do it yourself or ask a real estate photographer to do it for you. In case you decide to do it yourself, here’s how you should do it.
Find the best spot
photo taken from the corner of a room covering the whole room
Not all parts of a room provide the same viewpoint. For example, standing in the middle of a room, you can only picture half of it. On the other hand, standing in the corner allows you to capture most, if not all, of the room.
It’s fine if you don’t want a part of a room to be in the photo, but as long as you intend to provide the viewers with a full-scale view of the place, room corners are perfect. Also, keep in mind that in real estate photography, the best angle is chest-level.
Adjust the right camera settings
When shooting a property for virtual staging, you should be careful about the quality. Your picture should be taken from an appropriate angle, and for that matter, with the right setting. Before taking any photos, make sure that your camera is set for indoor shooting. If you don’t know how to adjust your camera for indoor shooting, read the instructions below, or perhaps you can ask a professional photographer to help you in this regard.
- Set the image format to (RAW+JPG).
- set the camera mode to “Aperture priority,” which is 2.8.
- You can set the “white balance” to Auto mode or adjust it manually.
- Adjust the resolution to (1920×1080) or higher.
- Set the shutter speed between 1/60 and ½ seconds.
Take several images from each room
You can’t judge the best viewpoint from behind the lenses. That’s something to be decided when you’re sitting behind the desk and looking at the photos on your computer.
To ensure you won’t have to photograph any room again, take five or six images from each room. This way, you can see each room from different perspectives and, putting yourself your the viewers’ shoes, decide which one/s will leave a better impression on them.
To order virtual staging at an unbeatable price click below!
How to Virtually Stage an Empty Room?
After the shooting phase and selecting one picture from each room, it’s time to stage them virtually. Like the previous phase, you can virtually stage those photos yourself or get them edited for you. So let’s see what you should do if you want to do it alone.
DIY tips for virtual staging
Presumably, you already know that to virtually stage an empty room, you need to use good photo editing software or some online database that allows you to add furnishing and decorations to a room. Here, we describe the whole process of virtual staging using Blender software and fSpy app, as these are arguably the favorite tools used in real estate photo editing. FSpy also has a plugin that you should add to Blender. Let’s see how it’s done.
estimating camera parameters
After importing the photo in Fspy, the first thing you should do is estimate camera parameters, or “perspective matching,” as some call it. You aim to accurately compute the camera’s approximate focal length, position, and orientation in 3D space.
Using vertical and horizontal lines, you can copy the geometrical properties of the room so that you can recreate a 3D model of it later in Blender. Ensure that doors, walls, windows, etc, all line up. When you’re done, save the file and run Blender.
Open the imported fSpy file in Blender and easily recreate the room geometry. Then, go to “shader editor” and create an “image texture node.”
lighting adjustments
Next, you should adjust the lighting by creating a shadow catcher, which allows objects to receive shadow rays. You may have several lighting options regarding the lighting model of your project. A lighting model determines how light interacts with objects in your photo.
By now, you should have a 3D reconstruction of your room with naturally balanced lighting. Then, you need to add a light source. If the room has a window, your light source must come from that direction. Without a window, the light source would be a lamp in the room.
adding the objects
Now, it’s time to show your creativity and taste in design. All you need to do is open the “blender kit” and add objects you want to be in the photo. When you’re done adding the objects, you should render the photo so that the objects’ texture, lighting, and shadows look natural.
That’s it. You’ve virtually staged an empty room all by yourself. Just remember, you need a lot of practice to get good virtual staging and create natural environments.
Outsourcing your virtual staging
For obvious reasons, you may look for virtual staging services. On the one hand, it’s a delicate job requiring special skills. On the other hand, to virtually stage an empty room, you’ll first have to learn to work with certain editing software. So it’s gonna take you some time before you can edit your first picture, which may still need some improvements afterward.
To get the job done, you can decide between freelancers and real estate photo editing companies. Let’s start with freelancers.
buying services from freelancers
There are a dozen freelancing websites where you can find freelance graphic designers. Websites such as Fiverr, UPwork, Guru, and peoplehour are just a few examples. You can create an account on any of these websites and get in touch with thousands of photo editors and graphic designers. Yet, you need to understand that:
- Many of these freelancers don’t have the required skills to edit real estate photos.
- Some freelancers are too busy due to offering cheap services and, consequently, receiving too many orders. As a result, they don’t devote enough time to the orders they receive. They just want to do it fast and go to the next one.
- If you’re not satisfied with the edited result, you may have to wait for several days before they can take another look and make improvements.
- You might also run into experienced freelancers who take the orders and give them to less experienced editors who are willing to do the job for less money. Consequently, the result may be different from what you expect.
buying services from real estate photo editing companies
A wiser choice you have here is to reach out to real estate photo editing companies and get your photos edited by them. Companies such as Revivoto, PhotoUp, FixThePhoto, BoxBrownie, Padstyler, and Photoandvideoeditors are some examples. Read our blog on the top 5 real estate photo editing companies to learn more about these companies.
Here’s why you should get your photos edited by real estate photo editing companies:
- Real estate photo editing companies work only with professional editors with years of academic background and practical experience. This guarantees the quality of their work that you can’t find with freelance editors.
- Professional photo editing companies usually have tens of experienced, fast, and creative photo editors working for them. This means that you’ll never have to wait in line to get your pictures edited. Those working in such companies can virtually stage an empty room in less than an hour. This means you can receive the edited pictures much faster than doing it yourself or outsourcing it to a freelancer.
- Such companies provide customer support services that are reliable and quite helpful. You can call, email, or chat with these companies to follow up on your order and requests
- Placing an order is really convenient. You don’t need to call or email them in advance to talk about your project. All you need to do is select the service you want and send the photo/s you want to be edited. That’s it. You’ll have the edited photos in 24 hours or less.
Why choose Revivoto’s virtual staging services?
Here at Revivoto, we’re honored to work with some of the industry’s greatest real estate photo editors and graphic designers that take the best out of your real estate photos. Keeping that in mind, let’s take a look at other benefits that Revivoto brings to you:
- Revivotos has 24/7 online customer support that is quite fast and efficient. Whenever you reach out, one of our support team members will answer your inquiries.
- We offer various high-quality real estate photo editing services including that ensure the best presentation of your property. Our services include Virtual staging, Real Estate Item removal, Day-to-dusk, Real Estate Image enhancement, and 360 Virtual Staging.
- While maintaining quality, we offer our services with unprecedented pricing that you can’t find elsewhere.
- With Revivoto photo editing services, you will have the option of unlimited revisions to your photos.


To order virtual staging at an unbeatable price click below!
Final Remarks
To virtually stage an empty room, one must acquire various real estate photo editing skills and gain some experience. Only after mastering certain photo editing software and learning editing techniques through trial and error can one confidently claim they can perform virtual staging.
You can try it and enjoy staging your home virtually, but if you want the photos for online or print listings, you should definitely ask professionals to do the job. This way, you’ll ensure those photos will be of the greatest quality, creating a lasting first impression on the buyers.
FAQ
Like any other tool, virtual staging can be used appropriately, unethically, or illegally. There are clear boundaries for legal virtual staging to avoid a “virtual staging gone bad” situation and, subsequently, a “misrepresentation lawsuit.”
Generally, virtual staging is legal if you disclose it.


