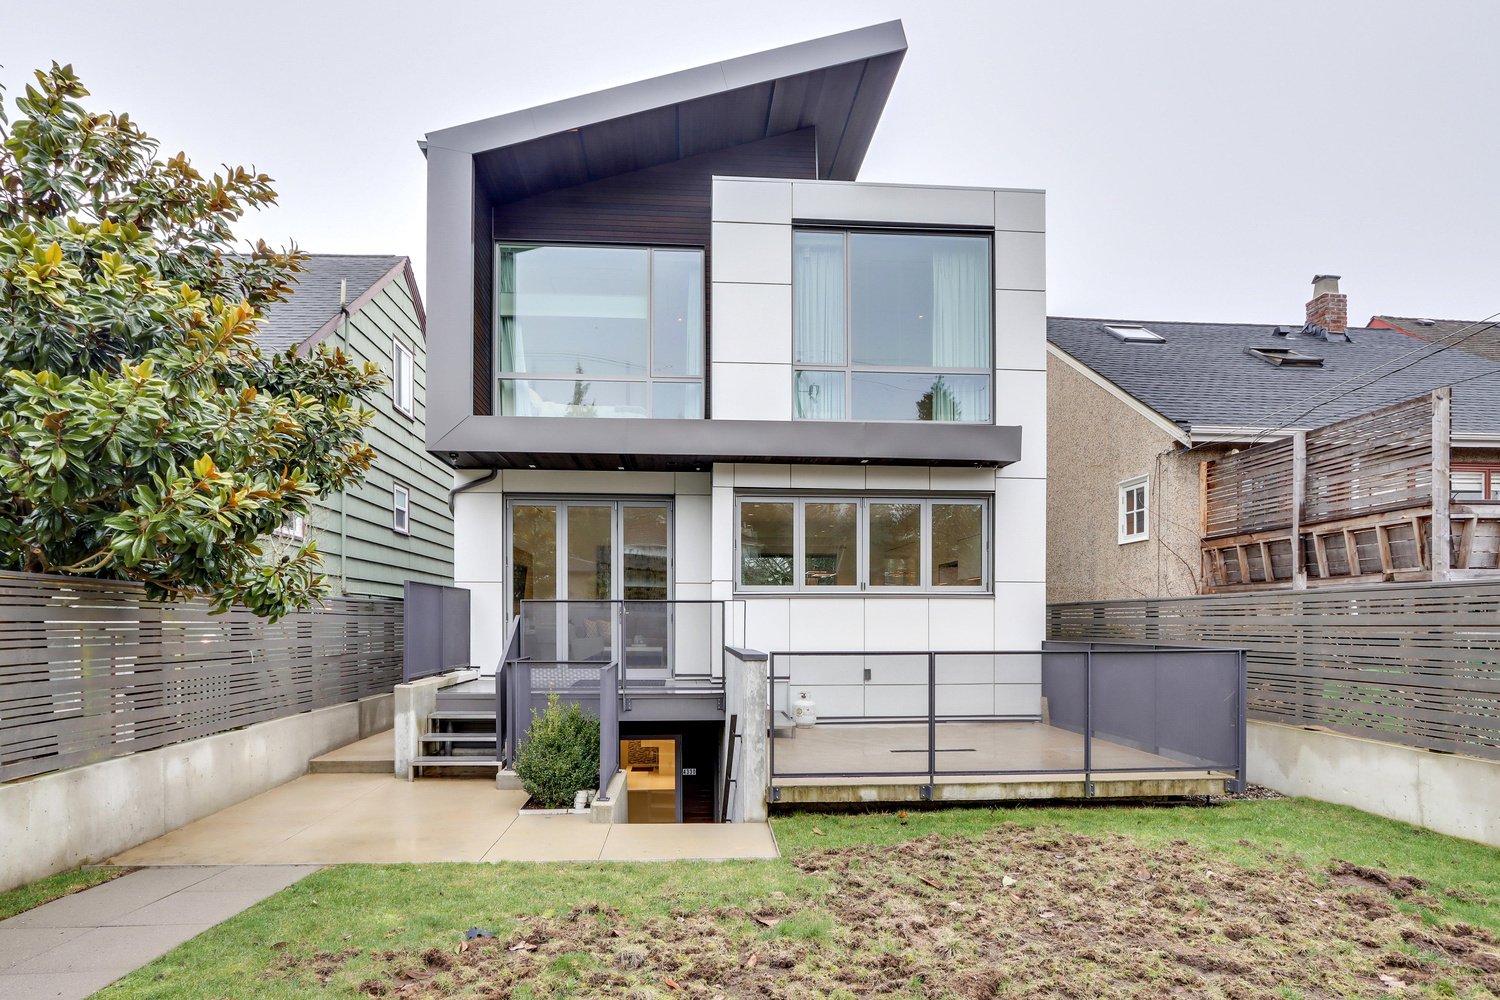
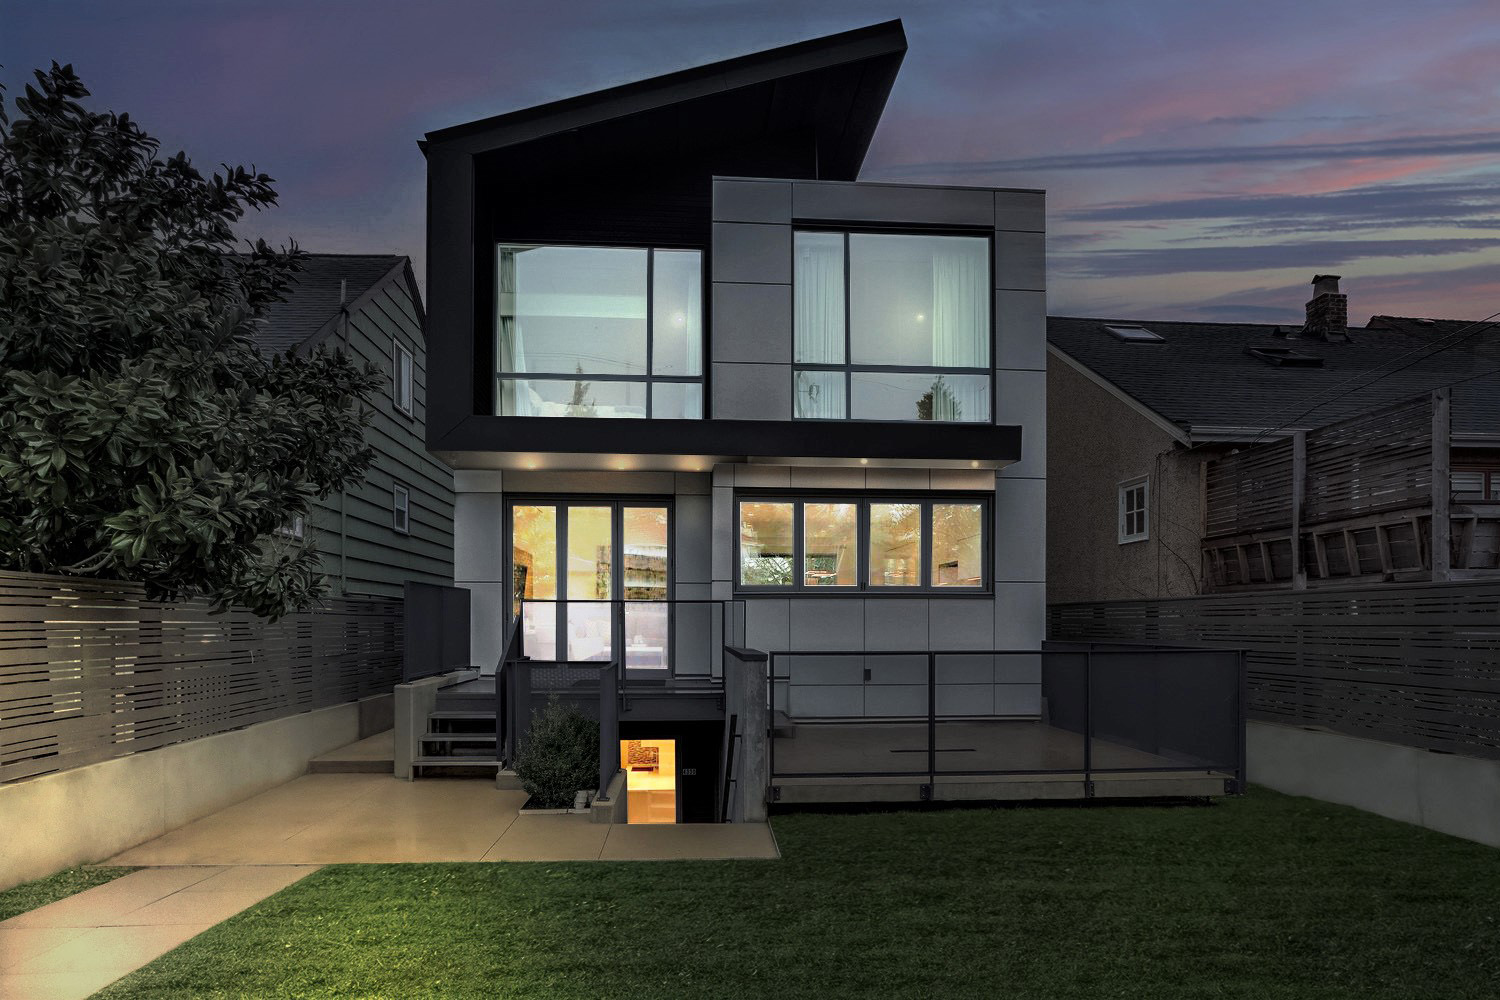
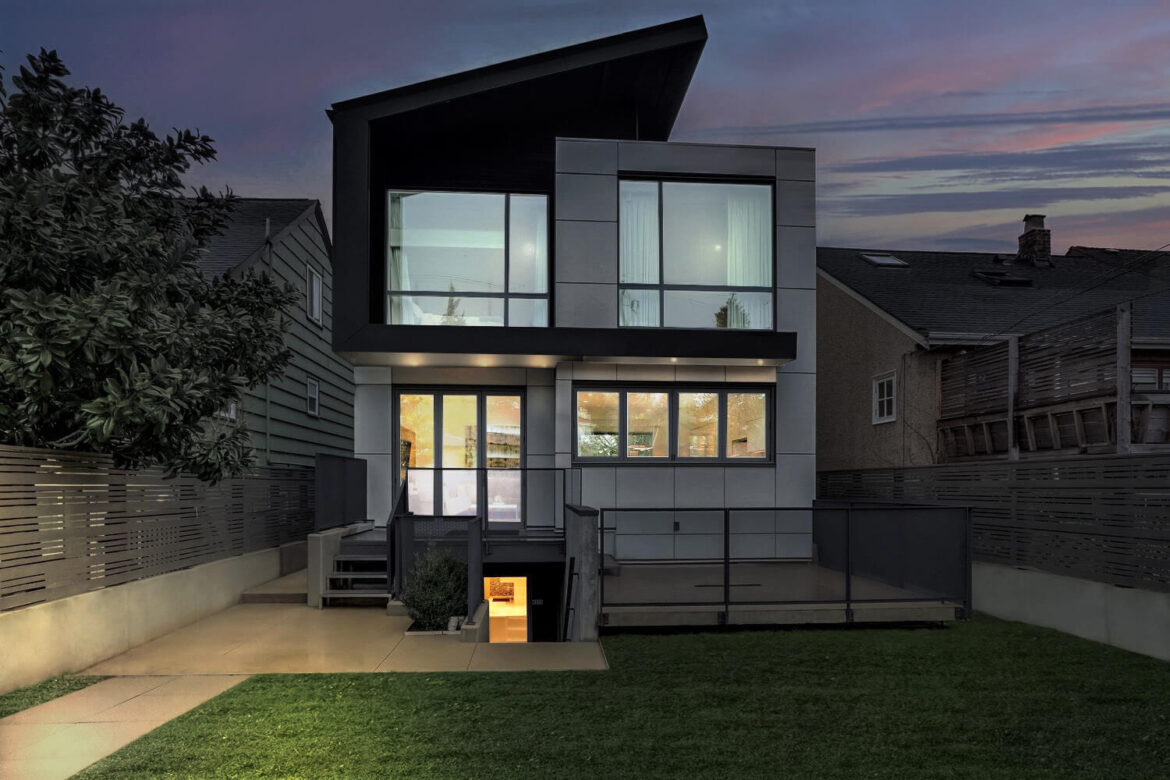
Photographing real estate may be challenging. One of the most difficult problems is taking a photograph inside on a bright sunny day. Suppose you calibrate your camera for the light entering through the windows, resulting in a too-dark interior. Alternatively, if the light is chosen to match the inside, the windows become a dazzling white blur. In this article, we will answer this question; is HDR good for real estate photography?
As you may know, taking the perfect shot necessitates finding the appropriate mix of light. The lighting varies during the day and night, depending on the time of year. You should use natural light, but sometimes it appears more brightly in one area than another or at a certain time of day. Interior lighting is insufficiently bright, differs in temperature and color, or interferes with natural light.
A professional real estate photographer employs two methods to cope with challenging lighting conditions. Use HDR bracketing and artificial flash lighting to compensate for changes in lighting so that all inside images of a house seem clear, bright, and constant.
HDR (High Dynamic Range) is a method of image editing that combines several exposures to create a more natural-looking image with balanced shadows and brightness. This blog will cover how to use HDR when to use it, and the best HDR software for real estate photography.
Table of Contents
What Is HDR Bracketing?
HDR is a technique of photo editing that combines bracketed photographs with several exposures to increase the contrast between the darkest and brightest areas of an image. In reality, HDR photography is a process that generates images with a far higher dynamic range than regular photographs. Thus, we can mention that HDR is good for real estate photography.
“Dynamic range” is a term used in photography to describe the contrast between the brightest and darkest areas of a shot. If your camera’s dynamic range can’t handle the subject’s dark and bright sections, the highlights seem washed out or white, and the shadows become black lumps.
Using the greatest HDR software, a real estate photographer may combine many photographs of the same property with varied exposures to render all elements in sharp focus. A technique called bracketing is used by a camera equipped with HDR to collect numerous shots, often between three and nine. Every shot is taken one after the other at a slightly varied brightness setting.
The first picture will be too dark; the last image will be too bright, and all the other images will fall somewhere in between these two extremes. One press of the shutter button captures all of the shots with auto-bracketing. The picture files are imported into photo editing software after the photo session concludes so that the contrast setting can be modified post-shot. In order to get the most detail out of the highlights and shadows, the bracketed shots are layered and combined into a single image.
Why Is HDR Employed in Real Estate?
HDR is a better representation of how our eyes view the world since it’s more accurate. In addition, the finer details of a scene are brought to light while shooting in HDR. These techniques are often used to strike a balance between interior and outside perspectives. Real estate and interior photography, as well as exterior architecture photography, may benefit from this method. Also, there are several benefits to using a large dynamic range in photography.
Balanced shadows, preserved highlights
When photographing inside and outside views of a room, balancing the highlights may be difficult. It is possible to keep the outlines from window light while preserving the room’s beautiful hues using HDR photography.
Added specifics
Photographers that specialize in real estate use HDR to avoid losing detail in crucial objects like fixtures and furnishings. This method aids in the sharpening and clarity of textures.
Improves the quality of lighting
Occasionally blending natural light with external lights may produce complicated lighting. An HDR composite picture may reduce illumination contrast in a single photograph.


Benefits of Using HDR
Utilizing HDR has both benefits and drawbacks. One benefit is that no extra equipment is required. All you need is an HDR camera and a tripod to keep the camera stable while you capture a series of shots.
The wide variety of HDR photography possibilities is another benefit. Auto-bracketing and a single touch of the shutter button are all that is required of them. The bracketed images can then be manually aligned, altered, and blended within a photo editing tool before being finished into a single image.
Creating an HDR picture requires a great deal of effort and patience, particularly on your first attempts. A real estate photographer will also need post-processing tools such as Photoshop to merge the HDR shots. Note that if you are manually taking bracketed images, you should set up the camera as you normally would and then adjust the level of exposure for each duplicated image.
Top HDR Software
In terms of filters, editing features, and user interface, Adobe Lightroom is the best HDR tool for enhancing the appearance of real estate photographs. Due to the fact that real estate photographers have varying editing talents, styles, and budgets, we offer additional software:
- Adobe Lightroom
- Aurora HDR Enhancing Program
- Adobe Photoshop Elements 2021
- Photomatix Pro 6
Making Use of Stops for Correct Exposure
Stops are a method for calculating the amount of light entering the camera. A stop lets in either twice as much light as the previous picture or half the light as the previous image. as an example, consider the following:
Suppose you are shooting a kitchen with the following Aperture Priority settings:
- F/8 aperture size
- Shutter Speed of 1/20
- ISO of 200
To raise the exposure by one stop, you would have to expose the camera to twice as much light. That implies the following parameters would be used to capture the next image:
- F/8 aperture size
- Shutter Speed of 1/10
- ISO of 200
The only difference between the settings is the adjustment in shutter speed. The change from a 1/20 to a 1/10 shutter speed doubled the amount of light that could enter the camera. If you want to lower the exposure by one stop, the shutter speed will shift from 1/20 to 1/40, allowing in half the quantity of light as before. In general, cameras have this capability built in. It is crucial that you comprehend the idea of raising stops to let in more light and reducing stops to let in less light.
Auto Exposure Bracketing
Now that you know the camera settings for HDR real estate photography, the first step is to set up your camera’s Auto Exposure Bracketing. Auto Exposure Bracketing is a time-saving and reliable way to capture consistently great photos, even in challenging lighting conditions. It will allow you to press the shutter button simply once and let your camera handle the rest.
Since every camera is a little different, you’ll need to learn how to go into this menu in your model. Regardless of the brand or type of camera, the settings we will be entering are the same, even if the menu titles change.
- Select Aperture Priority Mode on the camera.
- Go to the Bracketing Menu and set the number of collected photos to 5 and the stop interval to 3.
- Set your aperture around F/8 and your ISO down low.
- Activate the Auto Exposure Bracketing feature.
- Put your camera on a tripod and run a test.
- You’re good to go if your camera automatically takes five pictures at various exposures.
- You’ll now have 5 individual photographs of varying exposures that you or an editor may combine in any way you choose.
Conclusion
In this article, we elaborated on why HDR is good for real estate photography. As long as your bracketed real estate photographs are of higher quality, using HDR photography might be beneficial. However, before taking photographs, you must evaluate elements such as the quantity of natural light, the project budget, and the length of time.
FAQ
The primary advantage of HDR is that it more closely resembles how the human eye perceives things. HDR photography also highlights every aspect of a scene. Most often, HDR techniques are employed to balance interior spaces with external vistas.


