
 (1)")
Essential Equipment Needed
Interiors are excellent photographic subjects for a variety of reasons. It may be used to photograph furniture and artwork for the purpose of selling a property or to illustrate the potential capacity of each space. Interior photography is the technique of photographing interior areas, including rooms and furniture.As a photographer, you’ll need a range of photography equipment to create stunning inside photos. The most important real estate photography equipment includes:
Camera
Digital cameras, especially a DSLRs with automatic bracketing, allow for lens experimentation as well as extensive manual control over camera parameters like exposure, shutter speed, focal length, and ISO.
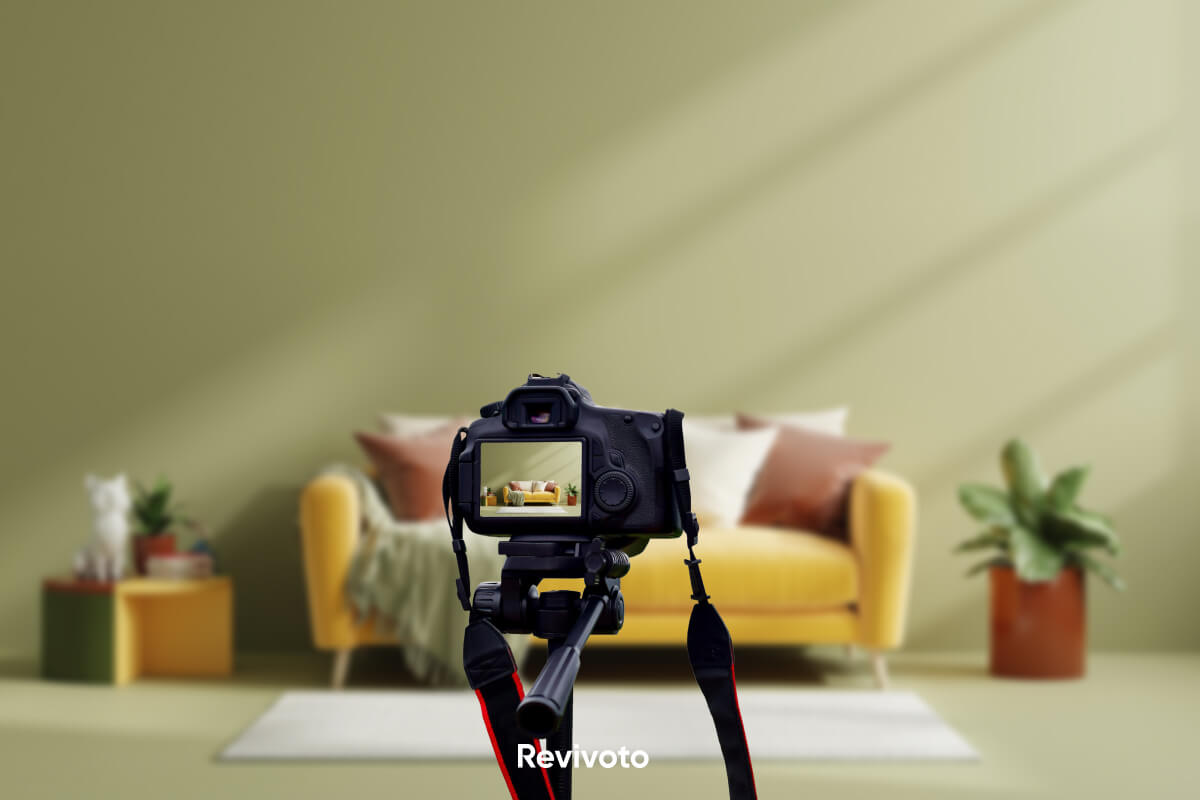
Tripod
With the help of a tripod, you’ll get clearer, more detailed photographs. To achieve perfectly horizontal shots, a tripod fitted with a bubble level is recommended.
Standard lens
For taking detailed images in interior close-ups, a normal zoom or prime lens would be sufficient. Based on the sensor of your camera, it is best to utilize the widest angle possible.
Flash
Use a flash accessory on your camera while photographing interiors for brighter, more vibrant results. A 14-24mm lens or something comparable is ideal for a full-frame camera. A 10-20mm lens will suffice with a cropped sensor. To get better than how real estate photographers shoot interiors, there are some points in the following that can help you:
Simple Methods to Create a Properly Exposed Photograph
First and foremost, it is essential that you stage the spaces you want to shoot. Having clutter-free and tidy surroundings will undoubtedly result in better images. Also, experienced real estate photographers shoot interiors from the most appealing angle. Remember that your photo should tell a story.
In order to get the best shots, we suggest that you go around the room, taking pictures from all angles. The angle produces a shot that is both better complementary and more enticing. Follow the tips below to take high-quality photographs.
Lighting
It is recommended to utilize natural lighting for interior photography wherever feasible. On the other hand, bright windows should be avoided since they might cause issues with exposure and white balance. Therefore, it is preferable to keep the window to the side. If an excessive amount of light is entering a room, pull the drapes or blinds.
Also, use one or two-speed lights for better lighting. They are both lightweight and small, and one may be carried in one hand while the other is put on a stand. Include table lamps, overhead lighting, and hidden illumination, mainly if shooting a kitchen. When the lights are on, there is less of a contrast between the inside and outside of the room.
If you wish to use natural light, rooms facing east should be photographed in the morning and those facing west in the afternoon. When photographing rooms with northern and southern exposure, the interiors should be at their most vibrant. If you must use a flash while photography at night or on a darker day, use a flash with an adjustable head and aim it toward the ceiling to disperse the light.
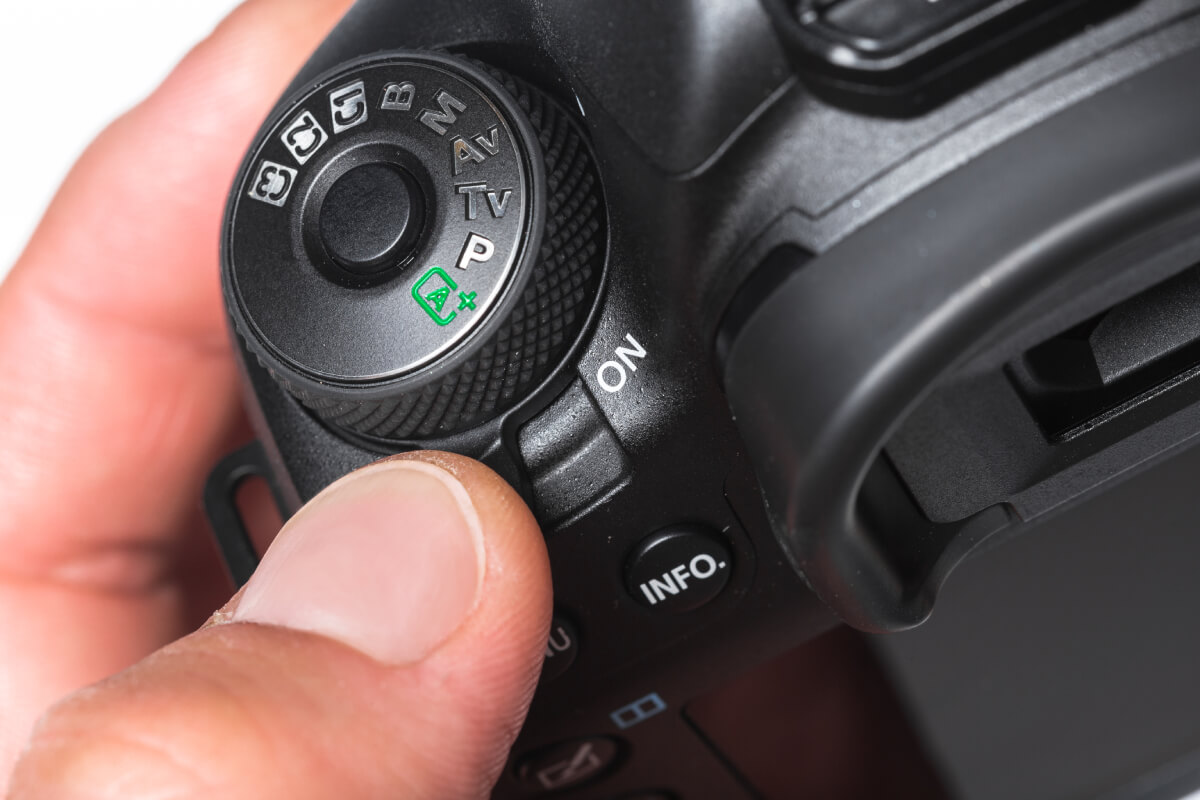
Camera setting
It is crucial to shoot ROW because it allows for far better post-production options. Also, shoot in Manual Mode, with the White Balance set to Auto (AWB). In a room with natural window light, incandescent, and fluorescent lighting, switch off all or a portion of the artificial lighting. For a flash/ambient combination, two or three exposures are preferable.
Set the ISO to 400 because it is an excellent middle ground while shooting indoors. A low ISO requires a longer shutter speed to get the proper exposure, which may produce blur if the camera moves accidentally. While a high ISO may result in undesirable noise levels, using a moderate ISO setting will mitigate the effects of both extremes.
Try these camera settings for interior shots:
- For ambient room lighting without flash: set the shutter speed at 1/8th, ISO 320, and aperture at f/8
- For a dark-furnished room with thick draperies and a wood ceiling: open the aperture to f/7.1 or perhaps f/6.3, increase the ISO to 400, and, if required, use a little slower shutter time.
- For a space with several reflecting surfaces: set the shutter speed at 1/30th to 1/40th and open the aperture to f/8.
For optimal results, you may also edit images in Photoshop and Lightroom.
Shutter speed
The intense sunshine streaming through the window will cause your camera’s auto exposure to be overly dark. Allowing the camera to choose the shutter speed for the bracketed exposures results in photographs that are under or center exposed but not overexposed enough to see the room. Start by putting your camera in Aperture Priority mode if you want a well-lit photo.
The next step is to aim your camera at a spot within the house that isn’t near any windows or other artificial light sources. Keep in mind the shutter speed that the camera displays since you will need it to determine the usual exposure (the 0EV photo) for your bracketed sequence.
Manual mode for the camera
In manual mode, you can choose the shutter speed that will be used for the average exposure of your bracketed sequence. Additionally, it guarantees that the aperture and ISO stay constant throughout all bracketed images. Simply varying the shutter speed throughout the bracketed frames will provide underexposed and overexposed images, perfect for HDR blending.
Camera exposure bracketing range
The bracketed exposures you use should consider the brilliant window views and the darkest portions of the interior. This will help you get the most excellent possible outcomes. Typically, this will need to capture either five bracketed photographs with two-EV steps or nine bracketed photos with one-EV step. Some cameras have a maximum shooting capacity of three frames, while others can capture five or more. Ensure that your camera is configured to capture the maximum number of bracketed photos if it cannot bracket exposures in more than one-EV step.
Composition
When photographing interiors, you should identify the most significant elements and focus on them. Numerous aspects impact a buyer’s decision to select a house, such as the kind of flooring, the amount of storage space, the presence of air conditioning, etc. Before you start taking pictures, look around the room from this perspective. Some characteristics of the space may not be crucial to highlight, so focus on those most significant.
Preparation
If you want to make better use of the space in the room, you should clean it up and rearrange the furniture. Also, waiting a little bit could be enough if the lighting and weather are improper.
Emphasize the best features
Frame your images to showcase the room’s greatest attributes, such as its natural lighting, spaciousness, or novel design, which will pique the interest of your viewers. If you want to capture the whole room in one shot, switch to landscape mode. Choose the optimal angle for your subject if you want to take close-up photographs of minor features.
Shoot straight ahead
To reduce the skewed appearance of vertical lines, keep the camera at a horizontal rather than an upright position. Shoot squarely ahead of the lens and avoid shooting from too high or low. You can prevent the sloping room issue by utilizing your tripod’s bubble level or your camera’s virtual horizon.
Tripod is essential
Using a tripod for interior real estate photography helps stabilize the camera and compels you to analyze each image. You can enhance your composition by taking a second look at it after you’ve made minor adjustments, like changing the height, checking that everything is level, and making sure the focus and settings are correct.
Use a wide-angle lens for the best results
Wide-angle lenses enable you to capture a better shot of the room’s design and arrangement as a whole. In contrast, if you want to go closer to the action by shooting interior details, you’ll need a lens with a greater focal length (about 50mm).
Manually focusing
To ensure you have the focus where you want it, utilize the camera’s built-in zoom capability while in manual focus mode.
Conclusion
In this article, we elaborated on how real estate photographers shoot interiors. Photographs that are both well-exposed and artistically produced are essential in effectively promoting a property. Professional photography and presentation may help real estate agents stand out in the competition, attract prospective buyers, and sell or rent a house more quickly and for a better price. For high-quality interior photographs, pay close attention to composition, camera settings, and lighting. It is also crucial for photographers to see the property through the eyes of prospective buyers and choose the finest viewpoint for highlighting the greatest characteristics of a house.