
")
Understanding the Concept of Space in Photos
An essential aspect of creating visually appealing and engaging images is understanding the concept of space in photography. Space refers to the distance and area surrounding the subject in a photograph and is crucial in conveying a sense of depth, scale, and length in the image. By utilizing various techniques and types of space, a photographer can create a visually balanced and harmonious composition that draws the viewer into the picture.
The importance of space in photography
Space is crucial in photography as it helps convey emotions, establish a mood, and guide the viewer’s eye around the image. Without space, your photo can appear cluttered, cramped, and uninviting. A photographer who can effectively use space in their composition can create a sense of visual balance, depth, and harmony.
Types of space in photography
- Positive space is the area in your photo that includes your subject. It’s part of your photo that draws the viewer’s attention and is typically the image’s focal point. Using positive space effectively can create a sense of balance and harmony in your photos.
- Negative space, on the other hand, is the area around and between your subject(s). It can create a sense of depth and scale in your photos and emphasize your subject by providing contrast. Negative space is an effective tool for creating balance and harmony in your photos.
Techniques for creating the illusion of space in photography
The trick for a spacious image goes beyond the shooting phase and covers pre and post-shooting. You need to make some preparation, choose your gadgets accordingly, shoot properly, and edit sufficiently. To make it easier to follow the steps, we’ll discuss these techniques in that order:
- Pre-shoot techniques
- Shooting techniques
- Post-production techniques
Pre-Shoot Techniques
Pre-shooting mainly entails preparing the room. Preparing each room for photography is crucial in making your photos look more spacious and inviting. Here are some tips to help you arrange the space for the best possible shots:
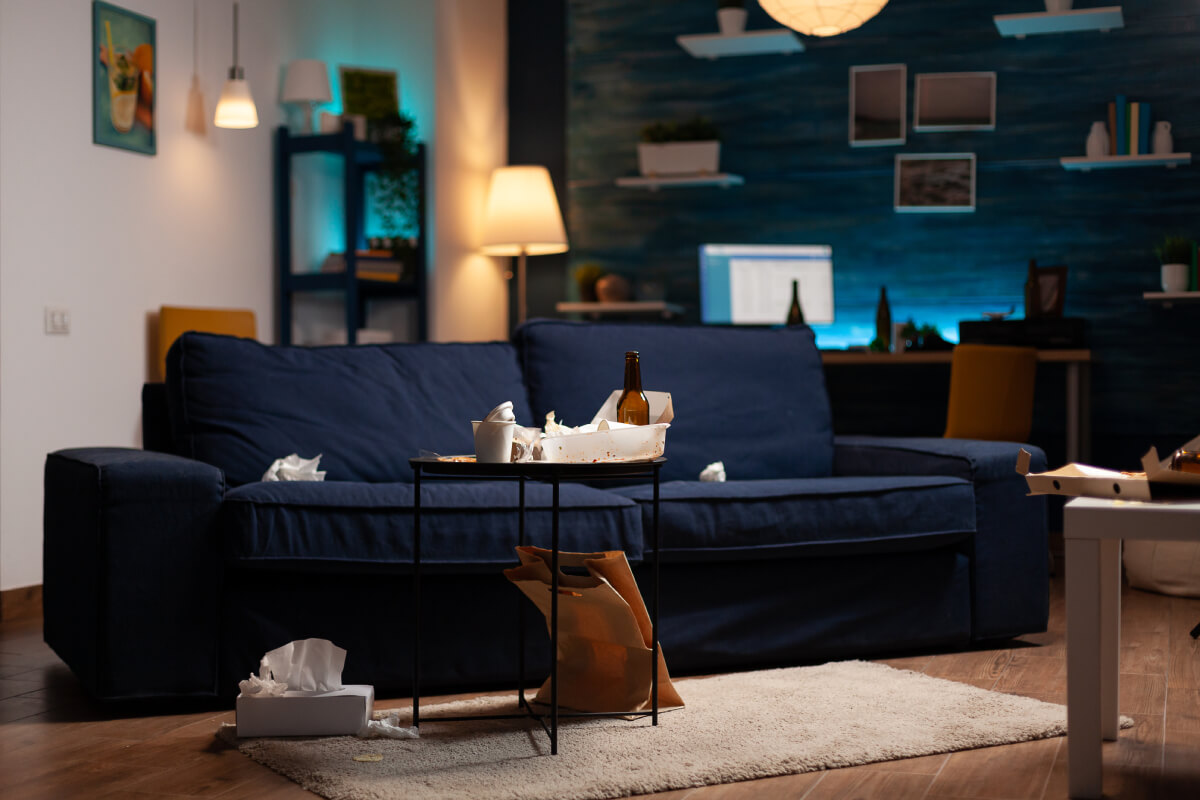
De-cluttering and removing unnecessary items
Removing any clutter or unnecessary items from the room is the first step. That will help create a sense of openness and spaciousness in the photos. Clutter can make a room look smaller and distract from the main focal points of the space. Take the time to clear surfaces, remove excess furniture, and tidy up any areas that may be seen in your photos. You can always rely on item removal services if something is too big or heavy to move.
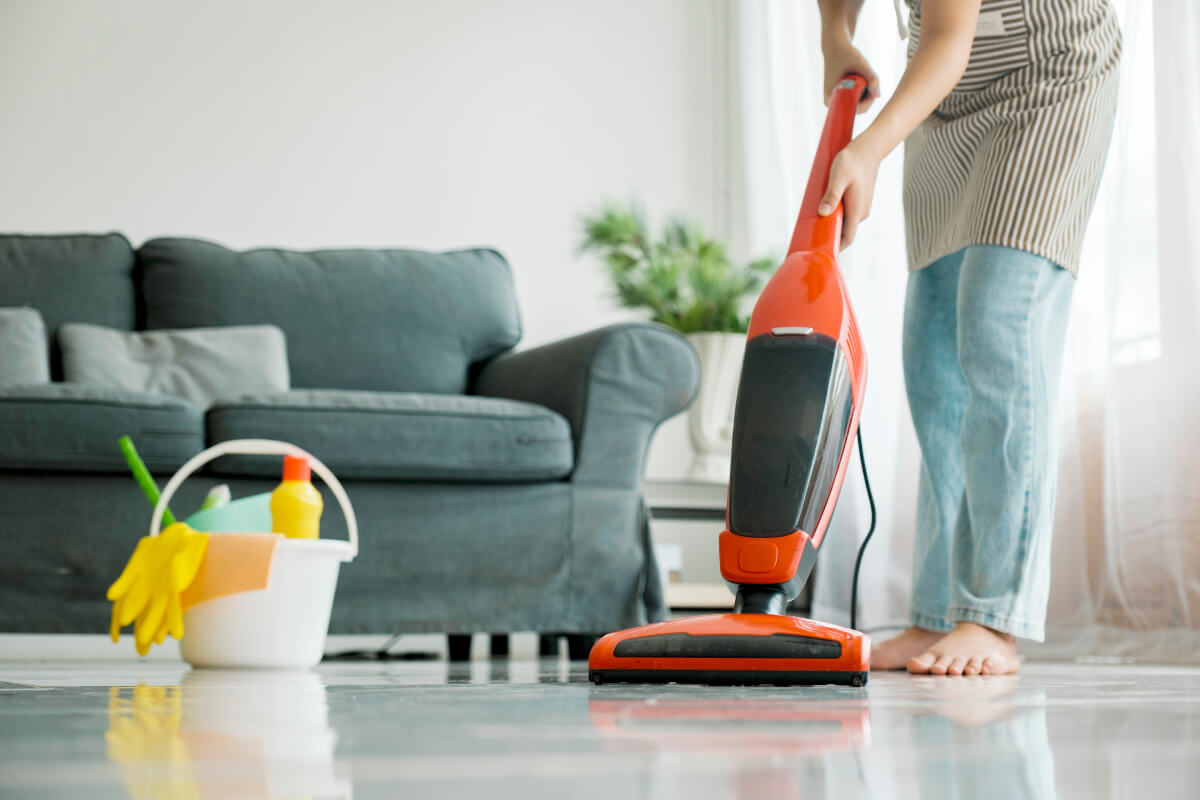
Cleaning and tidying up the room
In addition to decluttering, it’s essential to make sure the room is clean and tidy before you start taking photos. That means dusting surfaces, wiping counters, and vacuuming or sweeping the floors. A clean and tidy room will make your photos look better and make the space more inviting and comfortable for anyone who enters it. You can prepare a pre-shoot checklist for your client and include all the tasks.
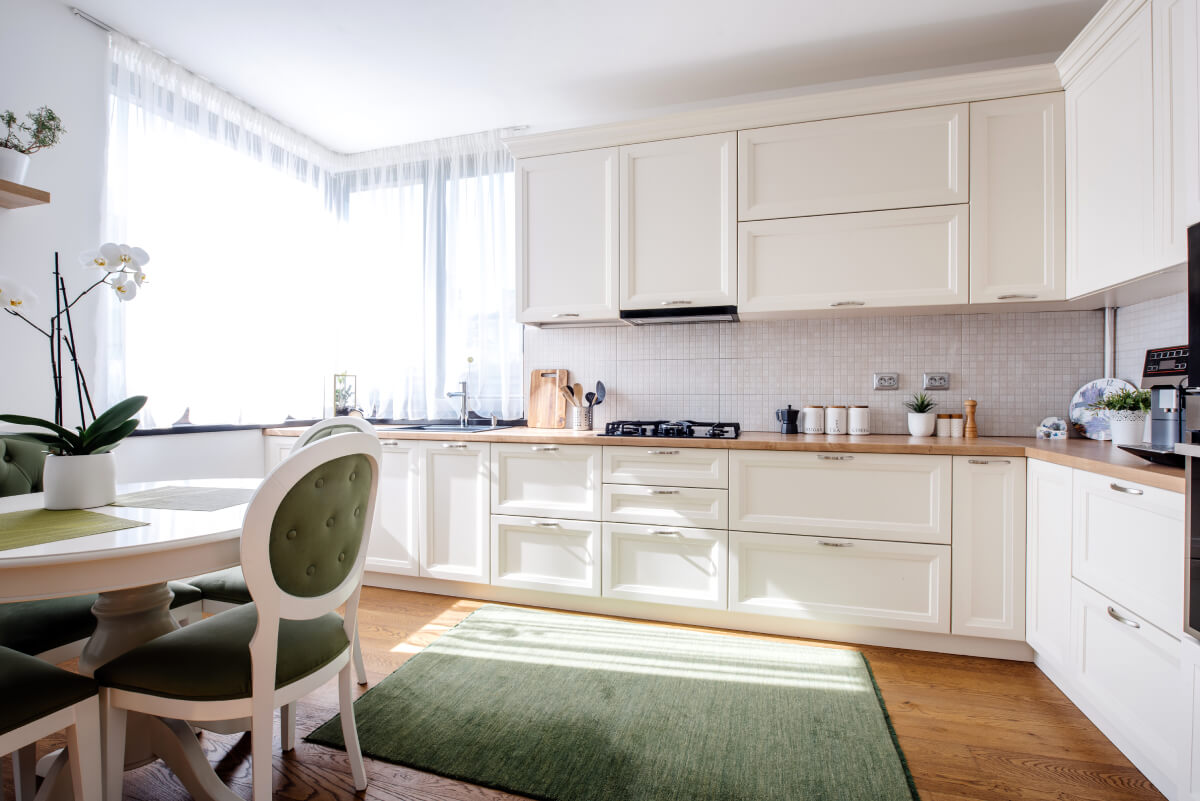
Choosing the right lighting
Lighting is a critical component of good photography. Make sure your room is well-lit before taking photos, and avoid using harsh overhead lights that can cast shadows and create uneven lighting. Natural light is the best option, so open any blinds or curtains to let in as much natural light as possible. Use floor or table lamps to create a warm and inviting ambiance if you need additional lighting.
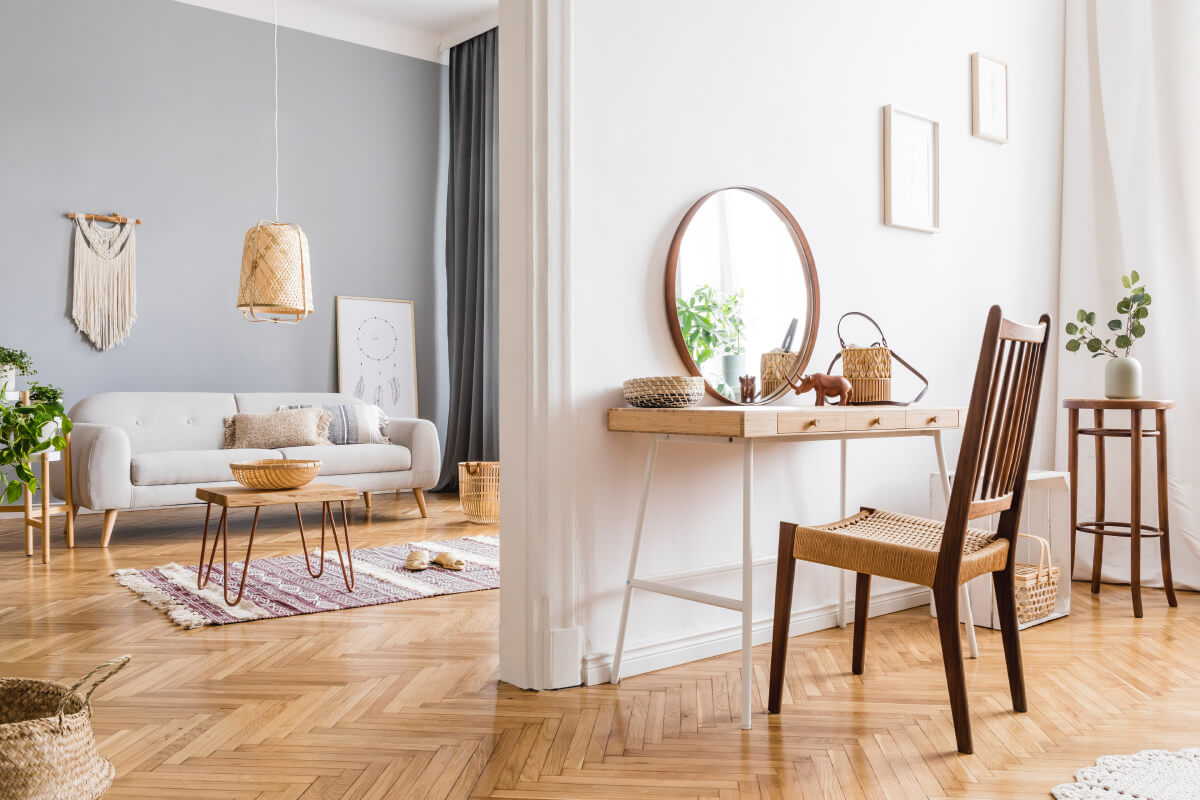
Using mirrors strategically
Mirrors can reflect light and create the illusion of more space, making your room look brighter and more open. Place mirrors opposite windows or other natural light sources to reflect the light and create the illusion of more space. You can also place mirrors behind furniture to create the illusion of depth and make the room look larger. Just be sure to clean the mirrors thoroughly before taking photos to avoid any unsightly smudges or streaks.
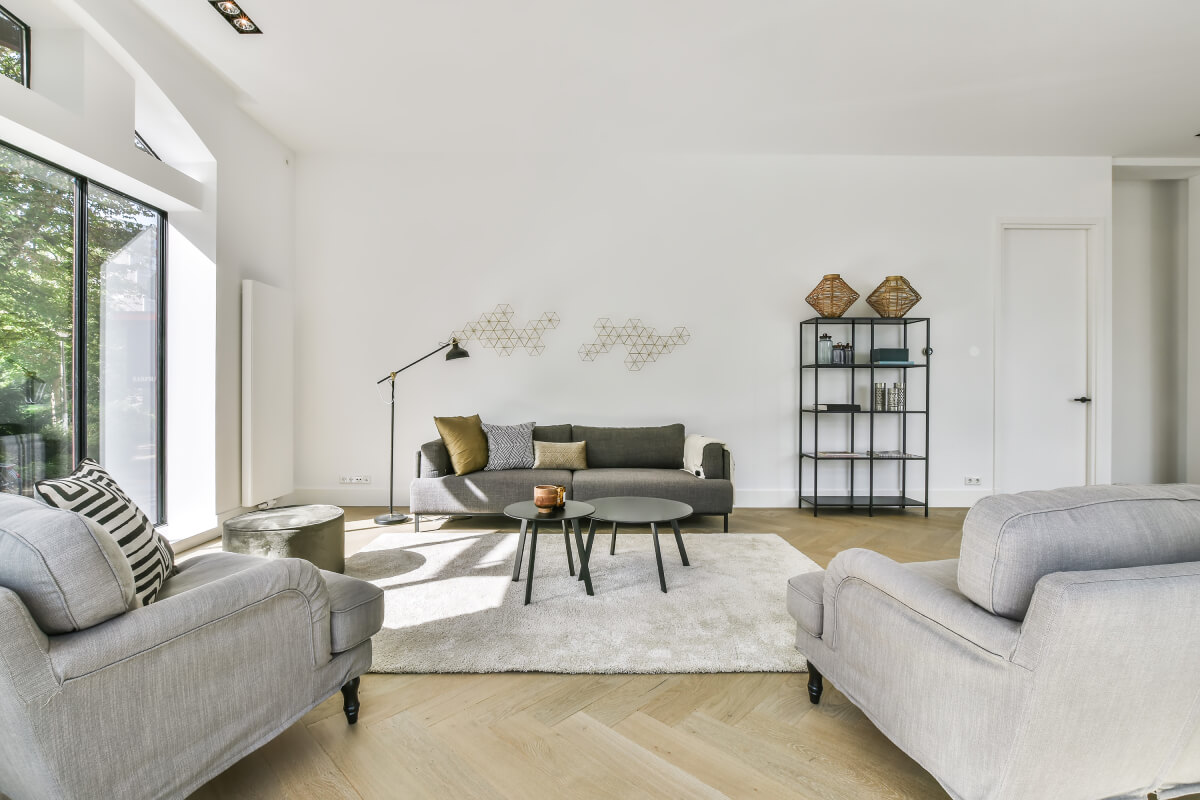
Arrange the room
It is also crucial to arrange the room to give a feeling of space. Avoid blocking pathways – It’s vital to ensure a clear path to move around the room. You can rearrange furniture to open up the space and remove obstacles that disrupt the room’s flow.
Remember not to overcrowd the furniture. If there is too much furniture in one area, it can make the room feel cramped and claustrophobic. Consider removing some pieces of furniture or rearranging them to create more breathing room. You can always use furniture to create visual depth. For example, placing a sofa against the wall with a rug and coffee table in front can create the illusion of a larger seating area.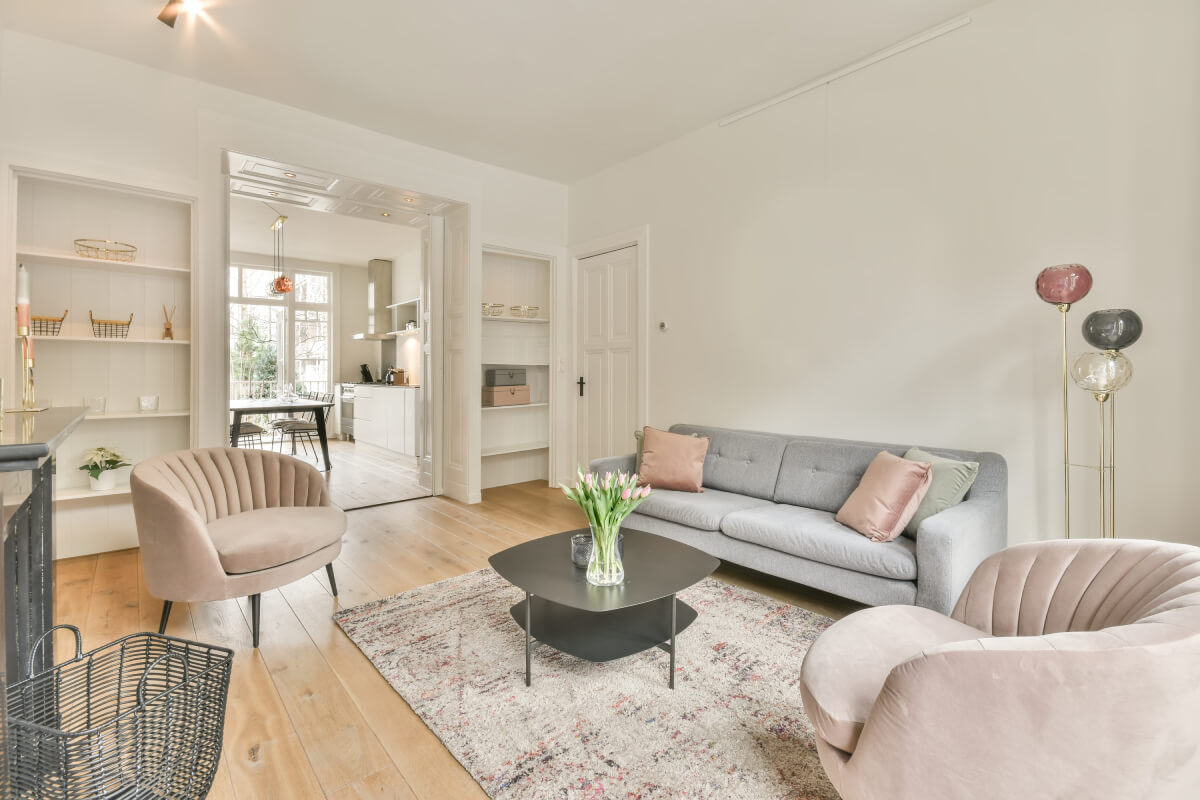
Shooting Techniques
Capturing spacious and inviting photos for a room can be challenging. Still, with the proper techniques, creating stunning images that make a room look bigger is possible. Here are some tips for achieving this effect in your photos:
Using a full-frame sensor camera
Choosing the right camera for real estate photography can be challenging. Professional photographers prefer a full-frame sensor camera as it produces high-quality images with exceptional detail, a wider field of view, and better performance in low-light conditions. However, it can be more expensive and heavier than crop sensor cameras.
Choosing the right angle and perspective
One of the simplest methods to make a space seem bigger in images is to shoot from a higher angle. That lets you capture more floor space, making the room more open and expansive. Shooting from a lower angle may be more appropriate to emphasize elements or details in the room, such as unique furnishings or design features. Also, shooting from a corner may help to show more of the room and make it look larger.
Using a wide-angle lens
A wide-angle lens can help you capture more of the room and create a sense of spaciousness that makes it look bigger. It can also add depth and dimension to the room, making it more inviting and visually attractive to viewers. However, be careful not to distort the image, as this can make the room look unnatural.
Keeping your camera level to avoid distortion
Keeping your camera level avoids perspective distortion, which can skew lines in the image. There are various useful gears for real estate photography to achieve alignment. Among them are tripods and stabilizers. You can also use careful positioning to produce visually balanced and accurate photos.
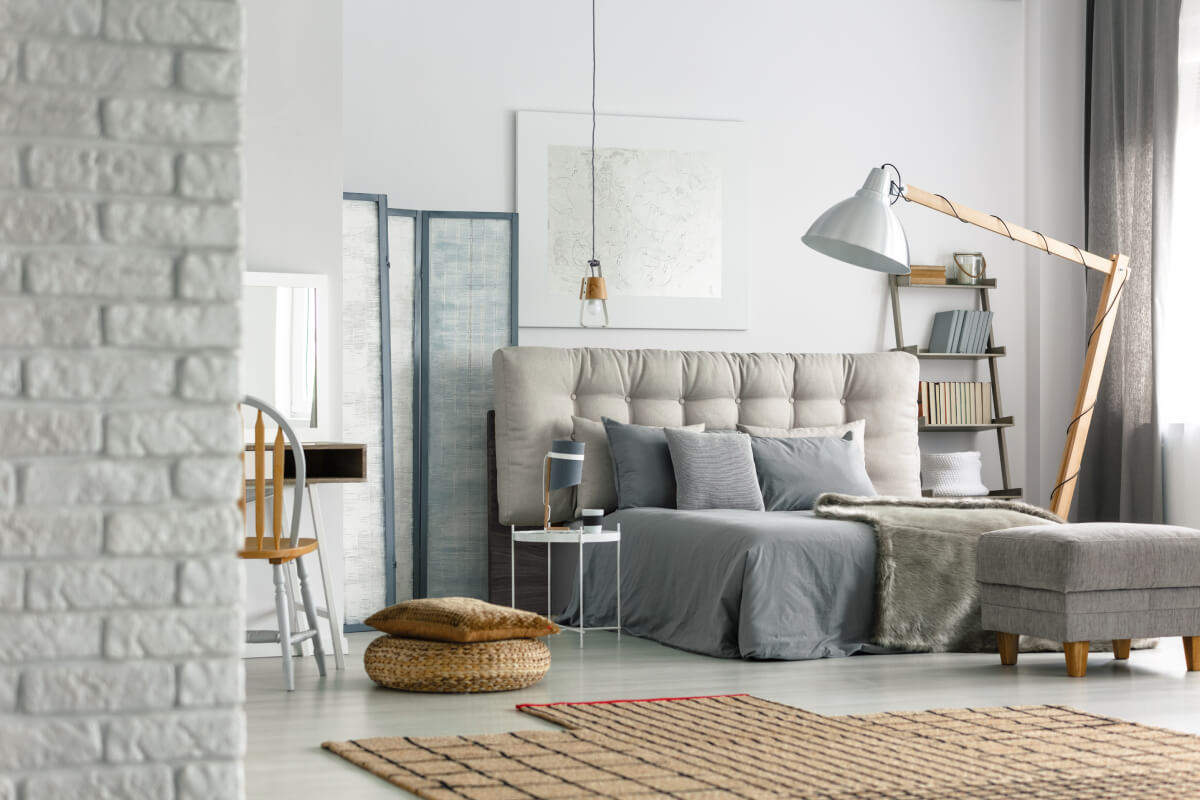
Creating a focal point
It can help draw the viewer’s eye away from small areas in the room. You can do this by using a statement piece of furniture or artwork or by highlighting an architectural feature such as a fireplace or window.
Shooting in RAW format
Shooting in the RAW format gives you much more control over the final image, allowing you to adjust exposure, color, and other settings in post-processing without losing quality.
Using HDR photography
HDR photography lets you capture a broader range of light and dark tones in a single image, creating a more vibrant and dynamic final product. However, be careful not to overdo it, as too much HDR can make the image look artificial.
Forming the best composition
Composition is crucial in creating spacious and inviting photos that draw the viewer in and capture their attention. Using a combination of compositional techniques, you can create images that feel balanced, visually appealing, and full of depth:
The rule of thirds
The rule of thirds means dividing the image into thirds, both horizontally and vertically, and placing the subject or other elements of interest along the intersecting lines or at the points where the lines meet. This technique helps to create a more visually appealing and balanced composition that draws the viewer’s eye and adds depth to the image.
Balancing the composition
Achieving balance involves distributing the visual weight of the elements in your image so that they feel harmonious and not cluttered or unbalanced. Balancing factors can be done carefully by considering color, size, shape, and placement within the frame.
Creating depth in your photos
Creating depth can be achieved through various techniques, such as using a shallow depth of field, incorporating foreground elements, and adjusting the perspective and angles of your shots. Adding depth to your photos can create a sense of distance and scale that makes them more engaging and inviting to viewers.
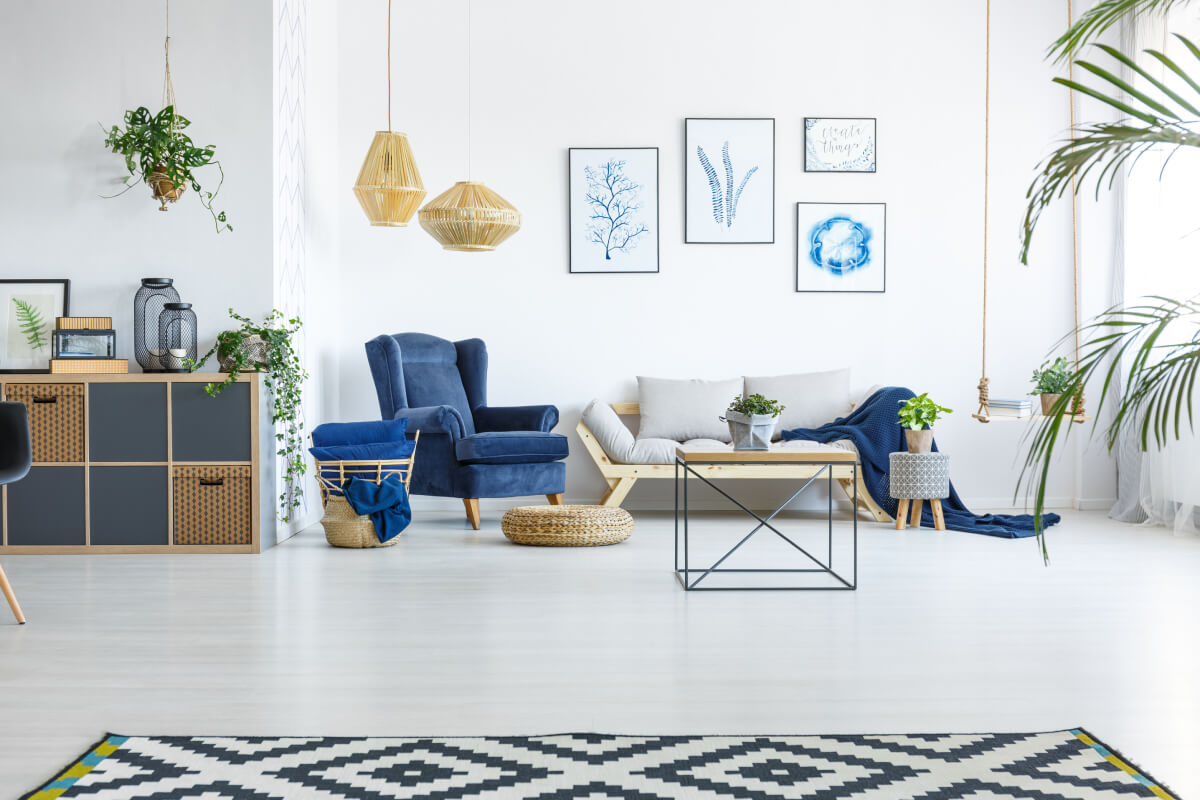
Using leading lines to create the illusion of space
Shooting from a low angle can be effective when you use leading lines in the foreground, such as a rug or a piece of furniture that extends toward the camera. You can also use architectural elements as leading lines – a hallway or a doorway can be a great way to draw the viewer’s eye toward the back of the room, creating the illusion of more space.
You can also take advantage of furniture to create leading lines in your photos. For example, positioning a sofa or a table at an angle can make a diagonal line that leads the viewer’s eye to the back of the room.
By incorporating these techniques into interior photography, you can create photos that showcase a room’s best features and make it look more spacious and inviting. Remember that if you know how to make a room look bigger in photos, you can attract more attention and increase your sales. Now that we’re done with the shooting part let’s attend to editing tricks.
Post-Production Techniques
Editing real estate photographs could be as crucial as shooting the original image. Appropriate editing techniques can improve the aesthetic allure of a room and produce pictures that truly stand out. Here are some tips for editing your real estate photos to achieve a spacious and inviting look:
Adjusting the exposure
Adjusting exposure is one of the most important editing techniques for creating spacious photos. You can create an airier, more open feel that makes the room look bigger by brightening the image. On the other hand, if the picture is too bright, you can darken it slightly to create depth and contrast.
Enhancing colors and contrast
Colors and contrast significantly impact a room’s perceived spaciousness. Enhancing the colors and contrast can make the room look more vibrant and appealing, drawing the viewer’s eye and creating a sense of depth. Taking advantage of an image enhancement service can save you time and energy in this regard.
Remove distractions
Clutter and distractions can make a room look smaller and less inviting. Use item removal to rid your images of unwanted items or blemishes, such as power cords, scratches on the wall, or dust on the furniture.
Straightening and cropping
Cropping and straightening the image can create a more polished look and highlight the room’s best features. Experiment with different cropping ratios and perspectives to find the best angle for each unique space.
Using vignettes and filters
Adding a subtle vignette or filter can help enhance the image’s overall ambiance, creating a warm and inviting feel. However, be careful not to overdo it, as too much of a filter can make the image look artificial.
These basic and advanced editing techniques for real estate photos enhance the spacious and inviting look of the images and create a more professional and polished final product.
Conclusion
You have unlocked the secrets to making a room look bigger in your stunning real estate photos. Remember to start by decluttering and staging the room, creating a focal point, arranging the furniture strategically, and getting creative with lighting and angles. And for more advanced techniques, consider shooting in RAW format, using a wide-angle lens, experimenting with lighting, using HDR photography, and forming the proper composition. With these tips, you can create images that make any room look bigger, brighter, and more inviting. So go ahead, grab your camera, and start putting these techniques to use!