In today’s real estate market, there are a significant number of listings online. Therefore, the competition is fierce. If you want your photographs to impress and attract buyers, you must take them according to real estate photography standards and established rules. What’s more, if you want to take photos for the purpose of virtual staging service, you need to be further careful. In this article, we will discuss several points that will help you take flawless photos when shooting a property for virtual staging.
Before starting with the tips, let’s check out the bond between real estate photography and virtual home staging and how one compliments the other.
Table of Contents
Real Estate Photography and Virtual Staging
The main intention behind Real estate photography is to provide compelling images that help market the property. Instead of the time-taking and wearisome traditional staging, many agents prefer virtual staging. This is due to the fact that, in comparison with traditional staging, virtual staging is:
- More convenient
- much faster
- less costly, and
- more appealing
Although real estate photography and virtual staging are closely related, they are two different things. Real estate photography is the act of taking pictures of a property, and it is done for marketing purposes. Virtual staging, on the other hand, refers to the act of virtually adding or removing features to those photos to add to their appeal. Think of it as a tool that enhances the photo’s likeability and adds to its power.
You may take photos of an empty room, a physically staged room, or a room with its original look (design, furniture, and perhaps all the clutter and mess). Then, you can improve its look through virtual staging. So, in a sense, we can conclude that real estate virtual staging is somehow complementing real estate photography.
However, not every photo can be used for virtual staging. When shooting a property, you need to be careful about the standards of real estate photography while not overlooking the fundamentals of virtual staging as well.
Shooting a Property for Virtual Staging
When shooting a property for virtual staging, there are things you should do to prepare the place. There are also things you need to consider to ensure that things are done correctly and under the right circumstance. So, let’s see how we should go about shooting property from virtual staging.
Get familiar with the place
Before shooting, take your time and visit the place. Go to every room and imagine yourself taking photos from every angle, thinking about things that should be added or removed. Also, assess the lighting and see if you need a flash, reflector, or photography filter. you should also ask the owner if there are any special selling points they want you to highlight. As you can see, there are several benefits to visiting the property before shooting it. Arriving at the place 10 minutes before the shooting will not leave you much time for planning and preparation.
Declutter as much as you can
Preparing a property for real estate photography always includes decluttering. When taking photos, keep in mind that the ordinary objects whose presence on the scene is neutral and does not bother anyone can drastically stand out in your photograph and ruin its potential for appealing to people.
So, remove the clutter and the mess from different parts of the home before taking photos. However, if there are items you can’t remove from the scene, worry not. Thanks to our item removal service, we can remove any unwanted object that may negatively affect the viewers’ judgment of the place.


To order Item Removal at unbeatable price click below!
Turn the lights on
Turning on all the lights will give you brighter pictures. Considering the minute changes our editors should make in your photos, the enhanced brightness will let them make precise and flawless changes. Needless to say, that brightness evokes feeling such as happiness, serenity, and peacefulness in the viewers.
Use professional equipment
Make sure your camera is appropriate for your purpose. Using a full-frame professional camera with a wide-angle lens and a tripod will go a long way.
Other essential equipments for taking photographs suitable for virtual staging include a remote trigger, flash, flash trigger, and light Stands.
When you intend to shoot a property for virtual staging, make sure you are careful about the following:
- Go wide, but not too wide! Wide-angle lenses are essential for real estate photography, but you must always be mindful of distortion and showcasing the space bigger than it really is.
- Always shoot from the waist level or a little higher, depending on the room and its condition. That is the general rule but with exceptions. For capturing the kitchen, shoot a bit above the counter to get the details. Keep in mind that the goal here is to have such pictures virtually staged later, so you need more of the floor than the ceiling. Find the sweet spot between the waist and eye level, but always consider each.
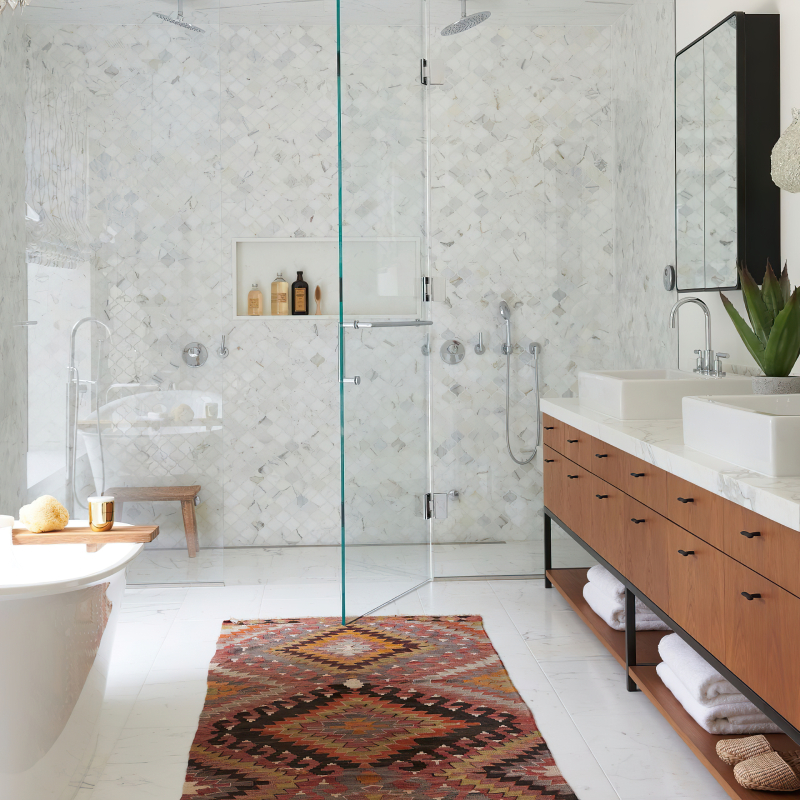
- As a photographer, you must make use of the full potential of a property’s setting. See if, there is a nice foreground from where the viewer gets an amazingly unique view of the place. This could be the inside of a small nostalgic-looking attic which evokes happy memories of childhood, or as you can see in the picture below, a noice colorful bush with astonishing flowers that provides an amazing view of the property.
- Use a tripod to stabilize the camera. There are numerous advantages of using a tripod; first, you can avoid blurry images; second, you can leave the room to prevent casting shadows; and finally, you can capture multiple photos from the same spot and height and stitch them together for panoramic shots.
Try to take photos in horizontal landscape mode. Virtual staging deals with the room, so you need to get more of it, and landscape mode is the way to go.
You can see an example of the tips provided above in this video.
Take high-quality photos
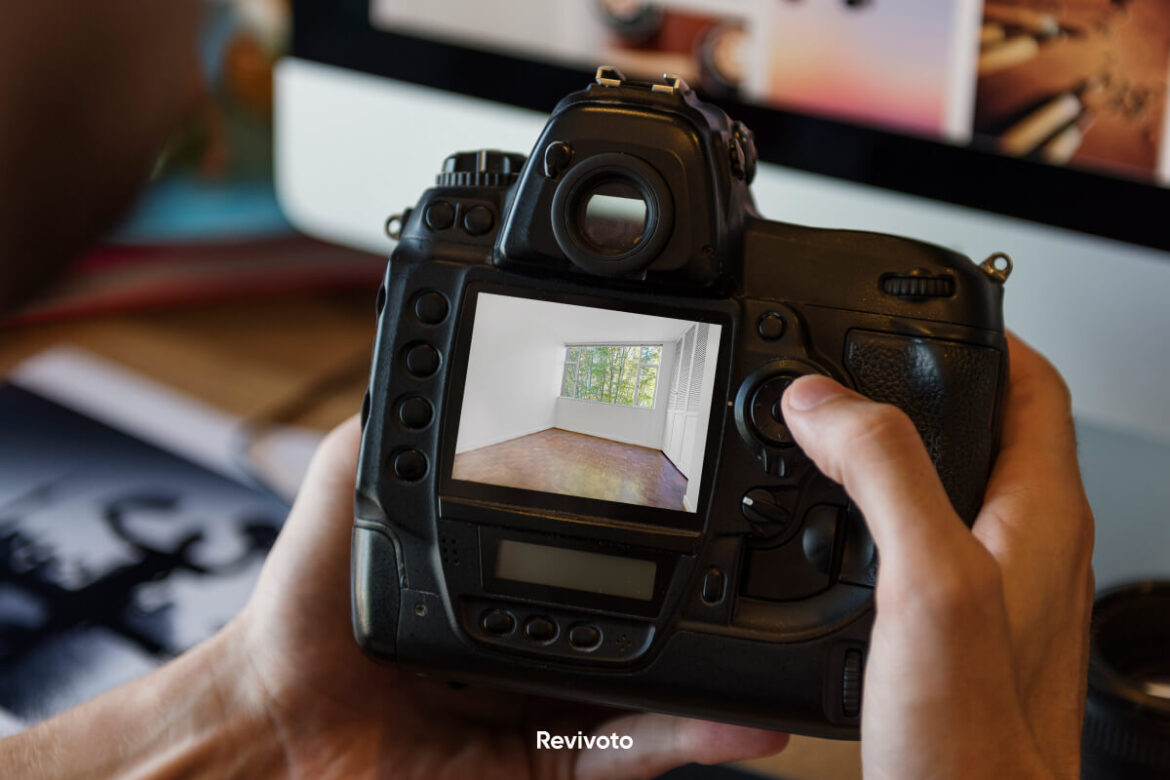
The furniture, decorations, and appliances used in virtual staging are created to look just like the actual thing, even in the smallest detail. Shooting with a DSLR and the RAW file format will provide your virtual stage editors the most flexibility in creating a realistic final result.
Take advantage of HDR photography
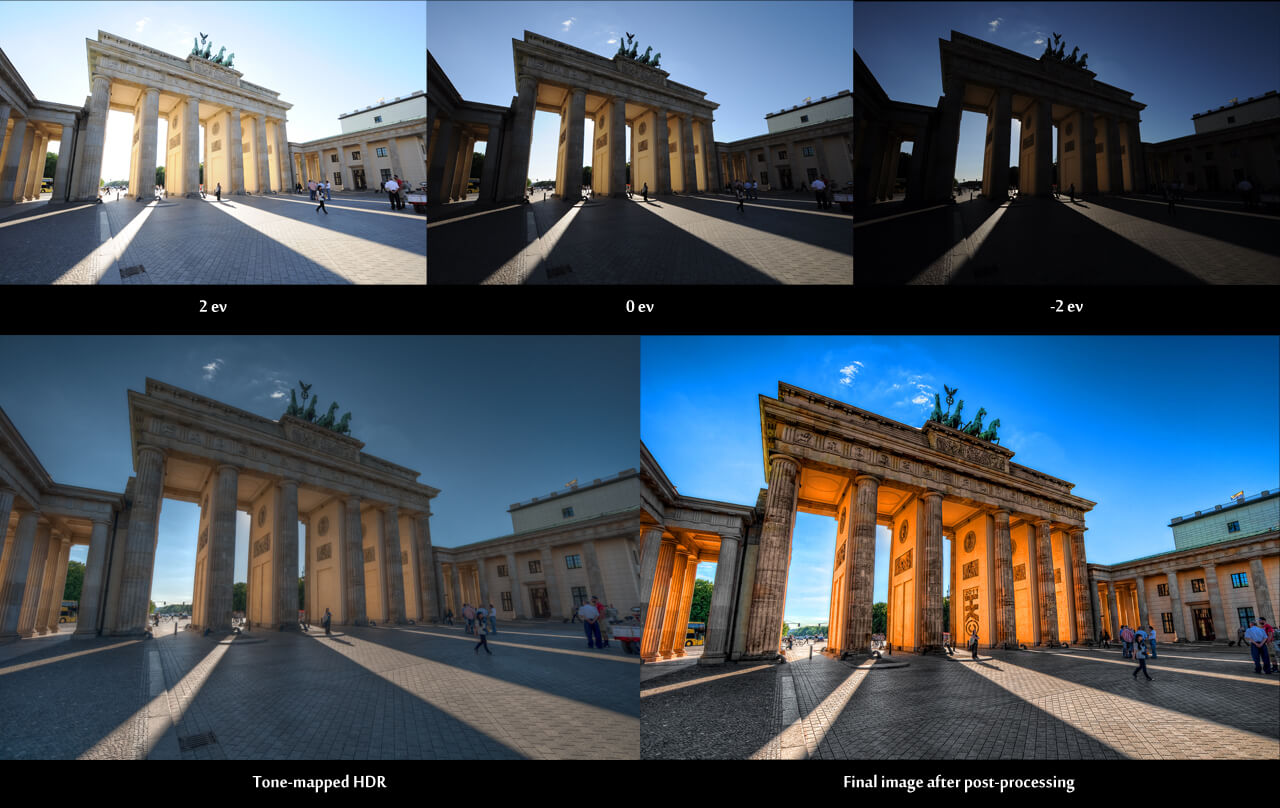
Due to various lighting conditions, real estate photography can benefit from HDR photography. An HDR photograph is a collection of images of the same subject shot at varying shutter speeds and exposure settings. The brightness level in these “bracketed photos” range from dark to light. Photo-editing software is used to combine bracketed photos.
This process yields a single image in which every part is lighted correctly, bringing out every feature attractively. Therefore, it is recommended to use a DSLR camera with an auto exposure bracketing function. That will let you employ high dynamic range imagery, making your picture suitable for virtual staging.

Source: farbspiel-photo.com
Make use of every available space in your shot
Keep in mind that you should have as much space as possible in the photos. Take pictures standing at or close to the corners so as to capture more space. Meanwhile, remember to center your camera on the focal points you want to highlight (fireplace, windows, built-in shelves, etc.). Standing in a room with your back to the “dead space” can help you capture as much space as possible in each photograph.
The floor and walls in your images should fill up at least twice as much space as the ceiling. Because during virtual staging, most of the digital furnishings and decorations will be set on the floor and walls. So, always check your photographs and make sure there is enough space for furniture and other stuff that editors will put in those photos.
Be careful about exterior view photographs
When reviewing listings online, people usually look for the images of the exterior view first. They will continue looking at other photos if they find the exterior view beautiful enough to grab their attention. Therefore, taking gorgeous outdoor pictures is a must. One decisive factor in this regard is lighting. You should choose the right time of the day to get good outdoor photos.
The ideal time to take exterior photos is once between 6:00-9:00 a.m and once around 4:00-7:00 p.m. During these hours, the sun has a rather low position in the sky and allows for taking pictures that are neither too bright nor too dark. But to come up with the perfect time during these hours, you can consult the sunrize/sunset photo calculator that tells you what time of day is the best time to take pictures in your region.
Select your finest images
You can’t be too sure that all the photos you take are perfect. sometimes things go unnoticed while shooting and come to attention only when it’s too late to start over. Therefore, It’s best to snap as many images as possible and then remove the ones you’re sure you won’t need. After you have narrowed down your finest photographs, select the best two pictures of each room, and say goodbye to the others. Wait. You’re not done yet!
Reach out to Revivoto for virtual staging
After doing all the hard work, still, chances are that you make a simple mistake and ruin your day. The mistake here is to think that you can edit those photos on your own. Virtually staging those photos is not something you can do just by learning photo editing software. If you want to get the best out of those photos, send them to us and let our professional editors put the last brick in place.
Conclusion
Virtual staging can help market a property quickly and for a good price, but it can’t be done without first taking good, suitable photographs. It feels good to know that your photo has done its job and helped your client sell his home quickly and easily. In this article, we discussed several points that help you take excellent real estate photographs that make you, your client, and the virtual staging experts feel fantastic. Let us provide you with the best virtual staging services and make your day by saving you time and effort.
FAQ
Virtual staging entails more than just placing fictitious furniture in real-world settings using the software. Instead, to make the area more inviting, a photographer shoots excellent pictures of the empty rooms and virtually changes the unit’s decor. Virtual staging makes rooms pop out and helps potential buyers see themselves in the house. All of these need skills and expertise. Therefore, outsourcing picture editing and virtual staging are preferable.
The Revivoto team can complete the task within 24 hours. Then, you will download the digitally staged images and utilize them to sell and promote the property.


